
How to Create and Shade City Walls

How do you keep your population safe from a barbarian attack, or from being invaded by a neighboring country? Walls and towers have been an effect means of warding off and deterring attackers throughout history. After all, who wants to take a run at a wall over 50ft. high while archers shoot from above?
In this tutorial, I will show you how to build fortifications for your settlement using the brushes included in the City Map Builder. And even if you don’t own that particular tool, there will be plenty to glean and apply to your own hand-drawn city maps!
All the brushes and the building in this tutorial are available in The City Map Builder for Procreate, Photoshop, Clip Studio Paint, and Affinity.

Create the Towers
With the City Map Builder, navigate to the “Walls” section and select one of the towers. Place the towers around your settlement at regular intervals to allow for the best defense.
If you look at the layout of ancient and medieval cities, you’ll notice how closely spaced the towers are along the walls. This is for defensive purposes as it allows you to fire arrows down on your enemies from behind if they’re attacking the walls.
The towers in the ancient Assyrian capital of Nineveh were spaces around 60 feet (18 meters) apart.

Add the Walls
Switch to one of your wall brushes and create a new temporary layer. This will allow you to draw your walls and easily erase where they overlap the towers.
For a video demonstration on how to do this in Photoshop and Procreate, check out:

Block in the Color
Now you can create a new layer below your line art and begin blocking in some color for the walls and towers. I selected a warm gray for the walls and a brown for the tower roofs to match the aged paper background color.
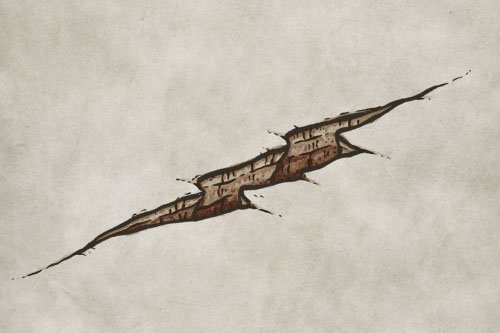
Bonus Tip: Adding Texture
One handy brush for adding a little texture to your walls, paths, or even areas of terrain is by using the Stone Grit Texture Brush included in the City Builder. It uses a seamless texture with hand-illustrated stones and grit to just give your maps a little more character. You can find the Stone Grit in the section labeled “Brushes”
More Tutorials You May Enjoy


Paint Basic Shadows
Create a new layer above the color layer you just created, and below your line art. Change the blend mode of this new layer to “Multiply”, and select a gray-blue color to paint in the shadows.
For this step, you can use the Gritty Shader Brush as it will allow you to lay in color gradually similar to using watercolors.
You can add a very subtle shadow in between each raised merlon on the wall to give a little depth.
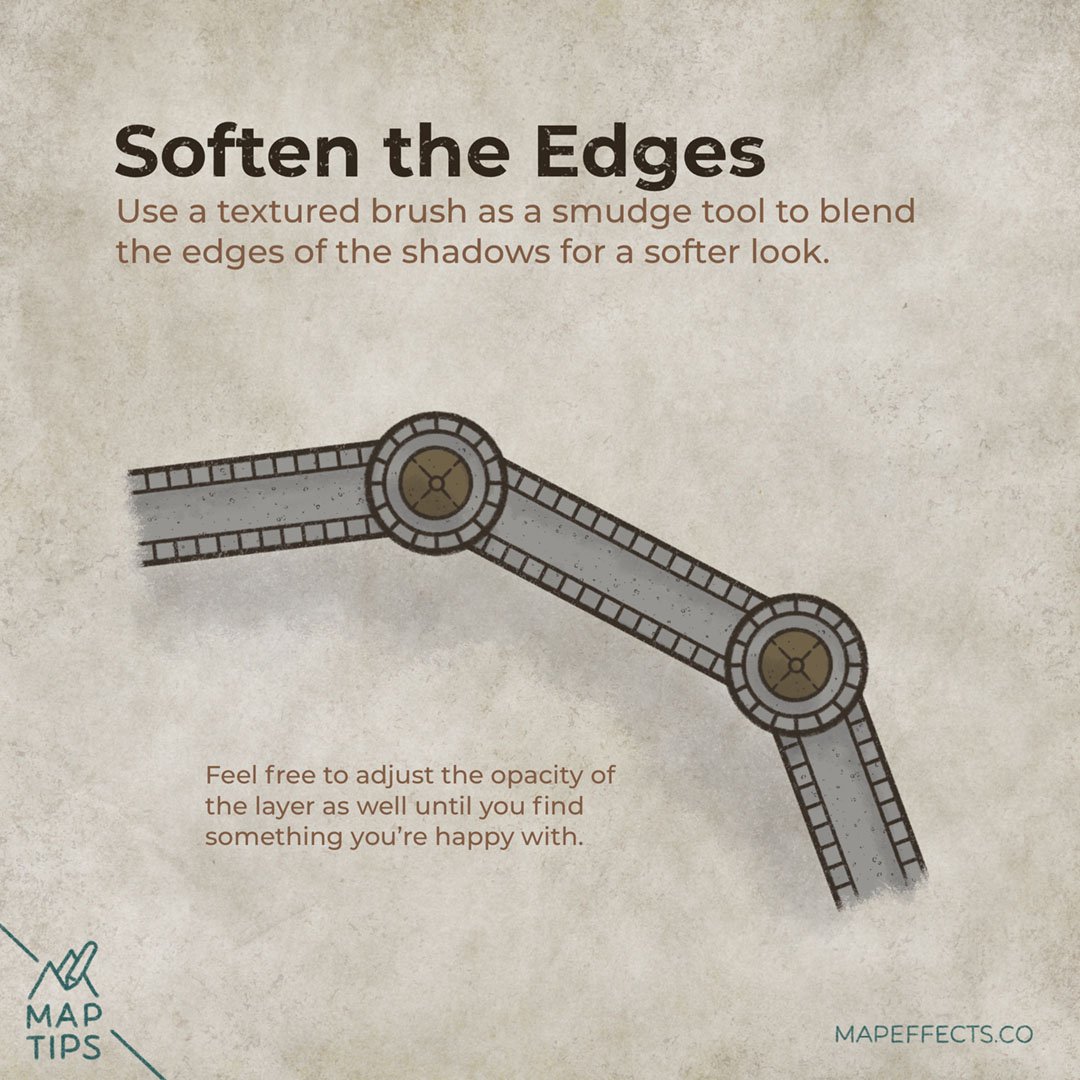
Soften the Edges
Use the Gritty Shader or another more texture brush as a smudge tool to blend the edges of the shadows for a softer look. I personally really like the look of softer shadows like you would see on an overcast day. The added bonus is softer shadows are generally a little more forgiving if you’re worried about making them realistic.
Feel free to adjust the opacity of the layer as well until you find something you’re happy with. In this case I brought the opacity down to 70%.

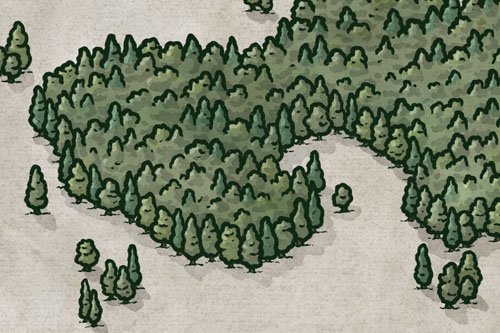
Get 100 New Trees - City Map Builder Upgrade
$10 | For Procreate, Photoshop, Clip Studio Paint, & Affinity
Adding some basic trees around your city map is a simple way to give it a little more personality. But, what if your story takes place in a tropical setting with palm trees, or somewhere in the mountains where conifers would grow? With this upgrade for The City Map Builder, you now have a much greater range of options for types of trees which will help make your map more immersive.
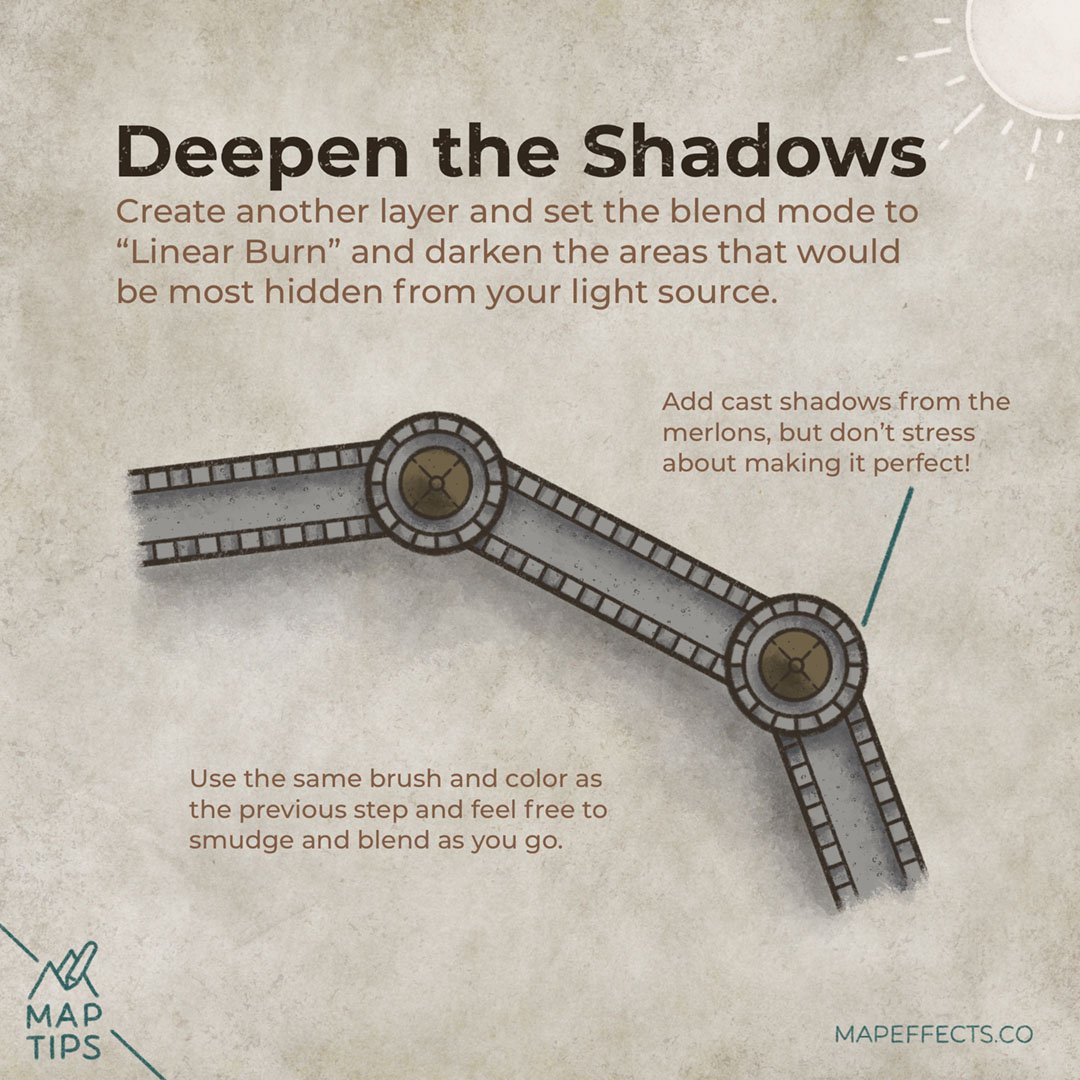
Deepen the Shadows
Create another layer and set the blend mode to “Linear Burn”. You’ll see that this blend mode is more intense with how much it will darken and add your selected color to your canvas.
Darken the areas that would be mostly hidden from your light source such as behind the walls, or on the far side of the towers. To really make the merlons on the wall pop, add some cast shadows in between but don’t stress too much about making them perfect.

Paint the Highlights
Finally, create a new layer and set the blend mode to “Add” or “Screen”. You can switch between the two later to see which you prefer.
Use the same Gritty Shader Brush you’ve been using to add a pop of highlights where the light would be hitting the tops of the towers and along the merlons. You can also use a harder-edged brush like the Excavation Liner along the merlons to add a highlight and give it a sharper edge.
You’re done! If you found this tutorial helpful be sure to follow MapEffects on Instagram and tag me with the map you create and I may feature your work. Thank you, and I look forward to seeing your map!
Josh
