How to Draw Swamps

Swamps are a haunting feature of any fantasy map, their still waters and tangled growth hiding stories of mystery. In this tutorial, you’ll learn how to bring these wetlands to life, starting with basic shapes and building up details with simple steps anyone can follow. By the end, you’ll have the skills to create a swamp on your map that your readers or players can explore.
Need some brushes to get started drawing maps on a tablet or a computer? Download The Free Apprentice Brush Pack

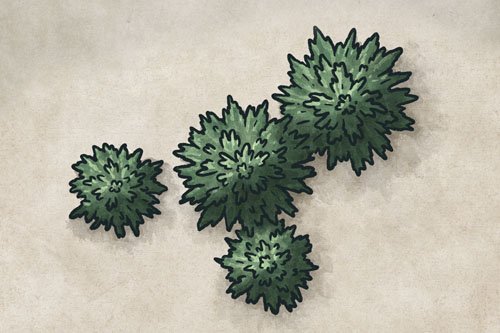
Sketch Basic Oval Shapes
To draw your swamp, sketch some simple ovals of various sizes to represent the trees. Be sure to let them overlap to create a sense of depth. You’ll also want to mix up the number of trees in a group to avoid any visual patterns.
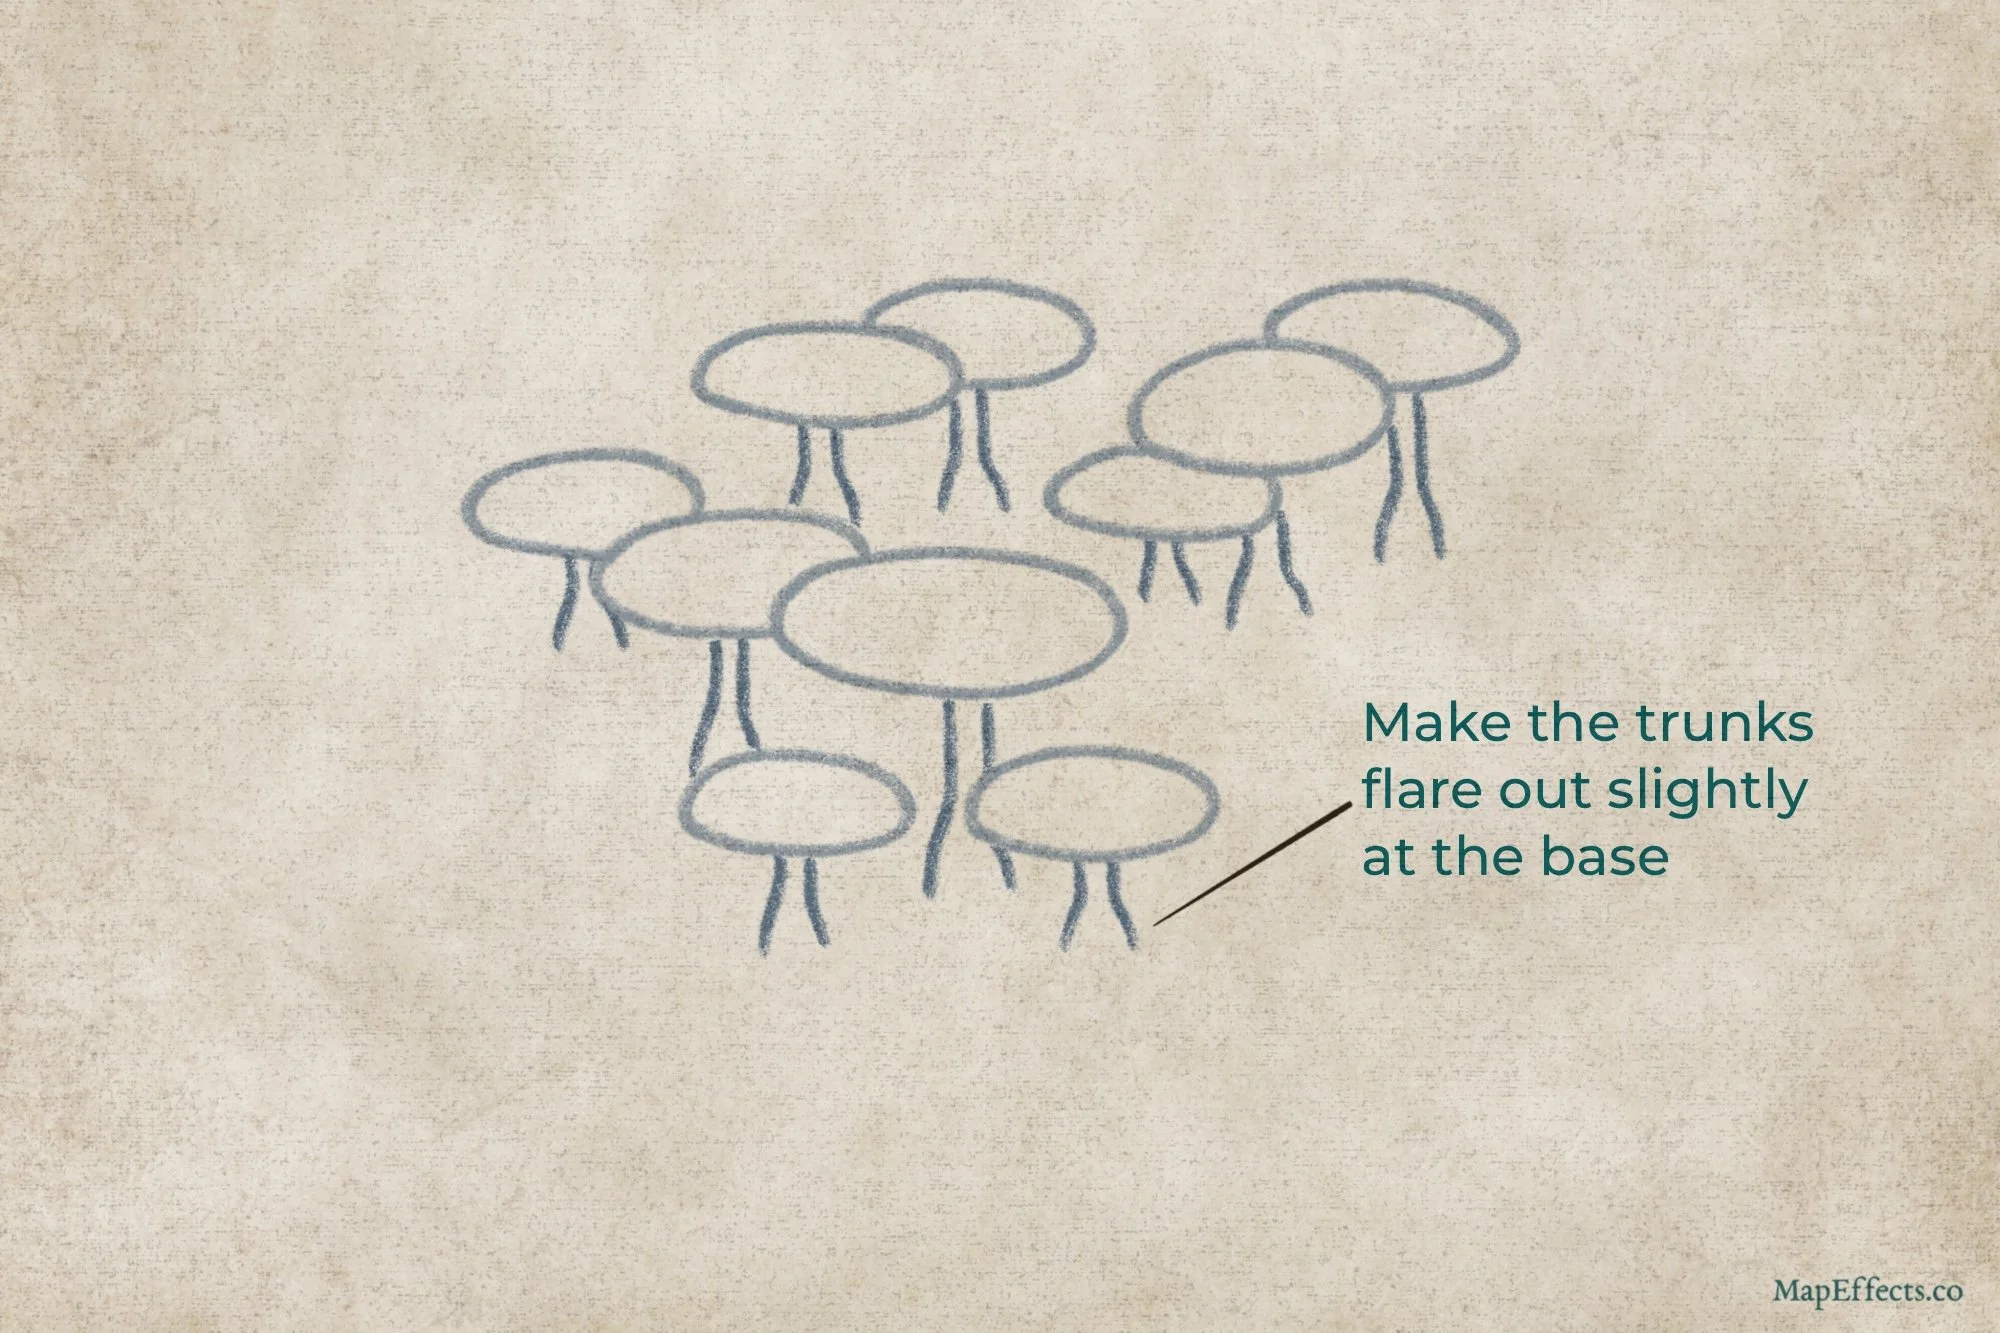
Sketch the Tree Trunks
Add some simple trunks to the base of each tree, and make them flare out a little at the base. Don’t worry about the branching at this point since you’re mainly focusing on the height, placement, and how they will overlap with other trees in the swamp.

Roughly Ink the Tree Tops
If you’re working digitally, create a new layer and switch to a brush to ink in the lines. I prefer something that is pressure-sensitive for the size but doesn’t affect the opacity of the brush. That way you can have some more organic variation in the line-weight to mimic a more traditional tool like a brush pen. Use some cloud-like strokes to fill out the shape of the tree, and don’t be afraid to allow some breaks in your lines. This will help it feel more natural.
You can get a good inking brush for Free in the Apprentice Brush Pack HERE.

Draw the Trunks & Branches
When it comes to drawing the main trunks and branches of a tree, I find it helpful to start with a very simple shape that kind of gives you the silhouette of the trunk. You can then shape that into a couple main branches which you can vary from tree to tree. With the main scaffolding in place, you can have smaller branches splitting off. Just be sure to use thinner lines as the branches move out from the main trunk.

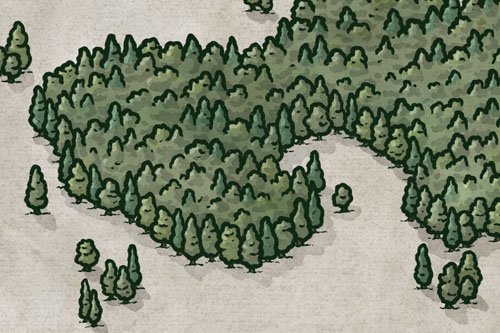
Want to Quickly Add Trees?
Adding some basic trees around your city map is a simple way to give more personality. But, what if your story takes place in a tropical setting with palm trees, or somewhere in the mountains where conifers would grow? With this upgrade for The City Map Builder, you now have a much greater range of options for types of trees which will help make your map more immersive.
Includes 100 Hand-drawn Stamp Brushes
Compatible with Procreate, Photoshop, Clip Studio, Affinity, & Infinite Painter

Add the Roots of the Trunk
As you add the roots, it’s important to try and picture the trunk in 3D space to get a good sense of depth and perspective. Then it is just a matter of adding a few roots that follow that shape in a variety of thicknesses. Again, just try to avoid repetition in the number, size, and placement of the roots.

Give the Canopy and Trunks Texture
Now, let’s go back and add some more detail to these trees. With the scale these will appear on your map, you really don’t need to go crazy. More than anything, you’re giving the impression of detail, texture, and shape. Continue adding layers of branches toward the viewer, using broken lines to maintain that organic feel. Then on the trunk you can just use the roots you added in the previous step to draw some broken lines up the trunk to give texture.

Draw the Hanging Moss
Nothing makes trees look like they’re in a swamp more than long strands of Spanish moss hanging from the branches. Just make sure to avoid any obvious patterns and repetition in the shapes so they feel natural. But have fun layering them behind and in front of the branches you’ve drawn.

Block in Your Main Colors
As always, this step and the colors you pick will depend heavily on the overall palette of your map and the vibe you’re trying to achieve. Do you want a dark, murky swamp where everything feels a bit ominous? Then you may want to go with more desaturated greens not only for the trees, but also the water. For our purposes, I went with a cooler color for the water since this tutorial is in isolation and not on an actual map. I just liked the color contrast! Do what looks good to your eye.

Paint the Broad Highlights
It’s not time to really start making things pop off the page! If you’re working digitally like I am, I like to switch to a low opacity brush that has a bit of a watercolor feel to it. You can then create a new layer and set the blend mode either to “Screen” or “Add”, and with a light grey or pale yellow color, you can start blocking in some broad highlights.
Try to imagine you’re just shading the whole shape of the tree canopy and the trunk. At this point you want to avoid getting sucked into the details. Just look at the broad shapes and how you can convey the light direction. We’ll get to detail in the next step.
You can get the shading brush I’m using for Free HERE in the Apprentice Brush Pack.

Paint Sharper Highlights
With your main highlights in place, you can make another pass with a smaller brush to increase the highlights in the areas that would be receiving the most direct light. This adds contrast and will help everything pop. You can do this on the same layer since you’re using a low opacity brush, or you can create another layer set to “Screen” or “Add” like I did here. The advantage to this is if you paint the highlights a little too strong, you can always adjust them a bit with the opacity slider to tone them down a bit.
You’ll also notice I’ve added some highlights to the water itself. Just use the water lines you added in a previous step as a guide and add a bit of highlight to the right side of the lines. Especially those directly in the light. I’ve also recolored the line art for the water lines by setting my line art layer to “Alpha Lock”, and painting over them with a light blue-grey.

Add the Base Shadows
Similar to what you did in the previous step, you’ll want to create a new layer, but this time set it to “Multiply” or “Linear Burn”. Then select either a medium grey or a blue-grey to begin painting in the broad shadows. Again, focus on the main shape of the tree and also add some cast shadows on the water.

Paint the Final Shadows
Finally, you can make one more pass and deepen the shadows on the trees with a smaller brush to bring out some detail. Be sure to darken the shadows, particularly under the canopy of the trees where the light would be most obscured.
You’re done! I hope you found this helpful so you can draw some swamps on your next fantasy map.
Happy Mapping!
Josh