How to Draw Pine Trees - Top-Down Perspective

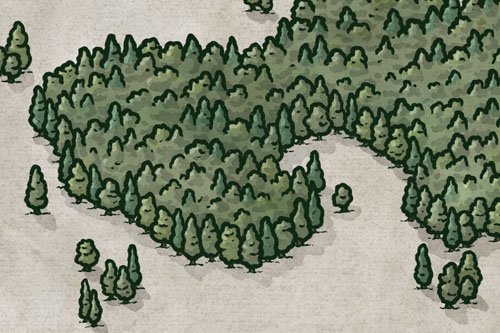
Forests breathe life into your city maps, transforming generic landscapes outside the walls into locations that could a secret tomb or shelter a group of bandits. You never know what secrets might be lurking beneath the boughs! You may have seen my drawing tutorial for a more basic tree to use on your city maps, but now you're looking for something a little more interesting. Pine trees, in particular, can tell you something about the environment of the location. Perhaps it's an area with low-quality soil where only the hardiest trees can grow, or maybe it's an alpine location in the mountains. Either way, using different species of trees is a great way to subtly convey something about a location, which makes for a more immersive story for your players or readers.
All of the brushes I will be using for this tutorial are available in The Free Apprentice Brush Pack

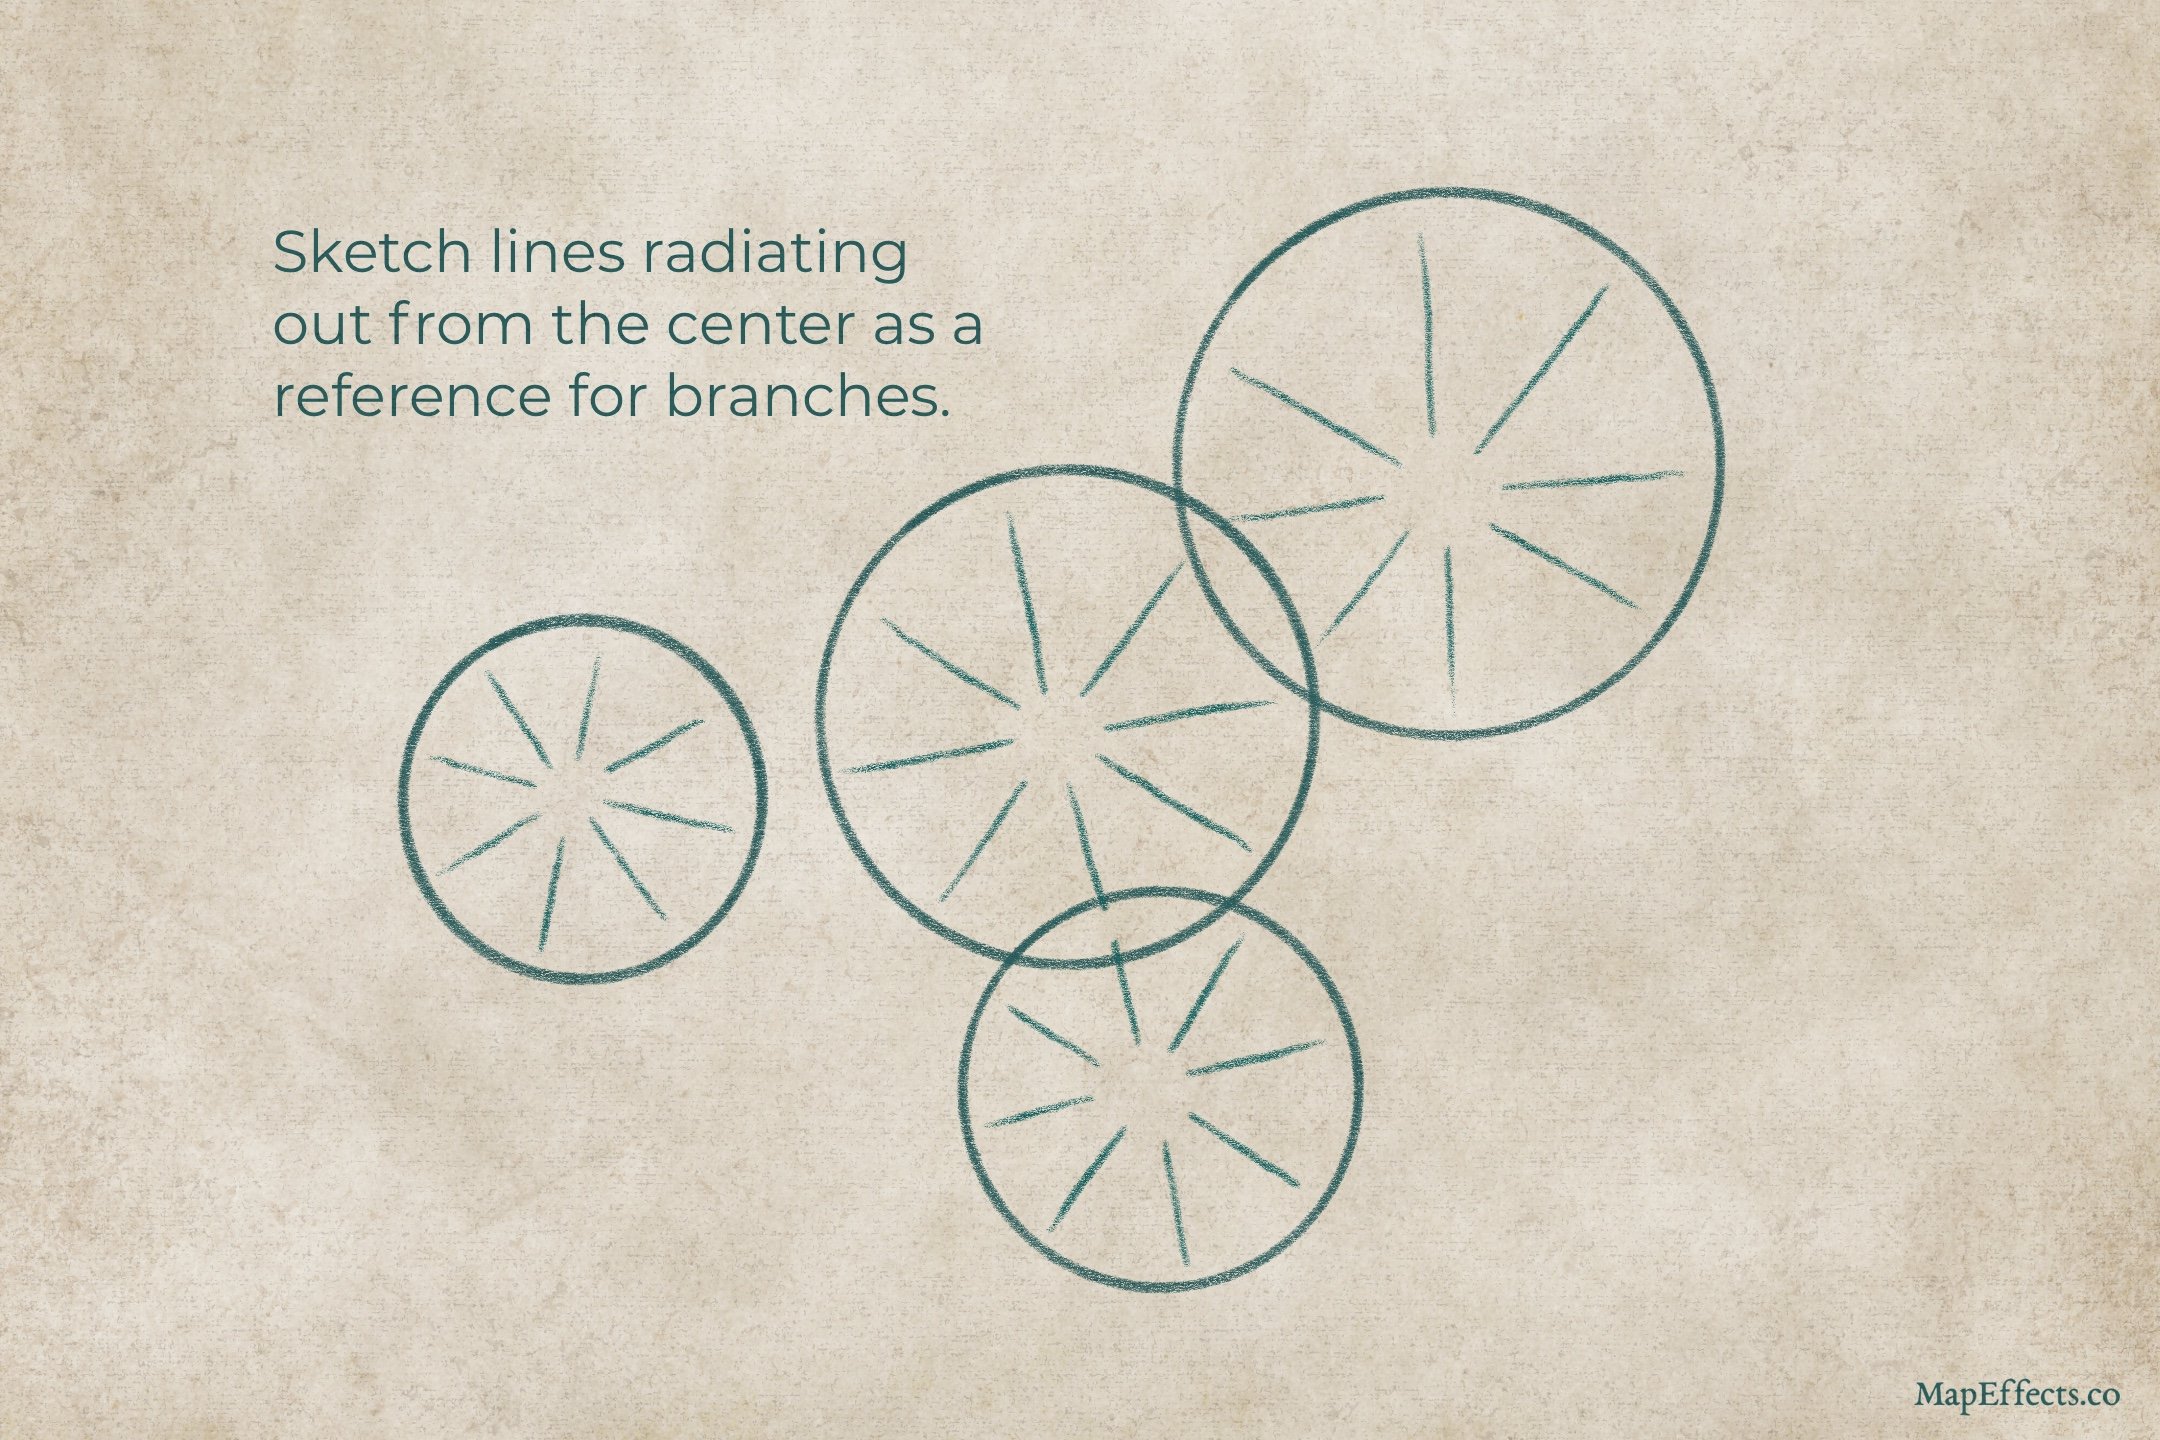
Sketch Basic Oval Shapes
Begin by sketching some circles where you want to draw some trees on your map. Try to vary the sizes to keep things interesting, and combine them in different groupings to add visual interest. You can also allow them to overlap a bit so some areas feel more connected and dense.
Sketch Branch Direction
This may not seem important, but I found as I was trying to get a feel for drawing this type of tree that it was helpful. The key thing here is you’re training your brain to remember the basic branch direction of these conifers. When viewed from above, in many ways they little like a bottle brush, so keep that in mind.

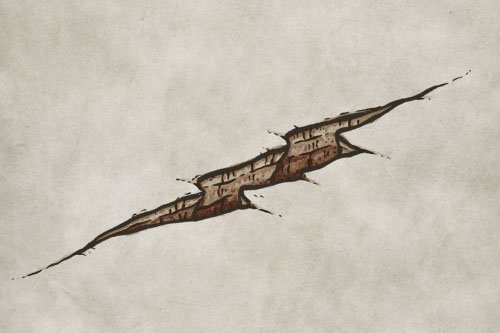
Roughly Ink the Outside of the Trees
Create a new layer of you’re working digitally, and switch to a brush to ink in the lines. I prefer something that is pressure-sensitive for the size but doesn’t affect the opacity of the brush. That way you can have some more organic shifts in the line-weight to mimic something like a brush pen. You can get a good inking brush for Free in the Apprentice Brush Pack HERE.
You want to draw a somewhat jagged line, but make sure you continue to follow that outward-shaped stroke to reflect the branching. You want to avoid using cloud-line shapes like you would if you were drawing a deciduous tree.

Ink Additional Branches
With your main outline in place, you can start building up some layers of branches to fill in the rest of the tree. I like to start on the outside and work my way toward the center. You can see from the small sketch of the branch above that you want to think about a basic leaf shape, with some jagged edges that come out from the middle.

Want to Quickly Add Trees?
Adding some basic trees around your city map is a simple way to give more personality. But, what if your story takes place in a tropical setting with palm trees, or somewhere in the mountains where conifers would grow? With this upgrade for The City Map Builder, you now have a much greater range of options for types of trees which will help make your map more immersive.
Includes 100 Hand-drawn Stamp Brushes
Compatible with Procreate, Photoshop, Clip Studio, Affinity, & Infinite Painter

Block in Main Colors
It’s time to block in your basic color, which in this case is pretty simple. The main thing you want to keep in mind is most confers are a cooler green and is often pushing toward teal. The overall color palette of your map will ultimately drive the color though so use that as your foundation.

Add Broad Highlights and Shadows
Let’s view these trees as very basic shapes, almost like a cone that is viewed from the top. Determine your light direction (In this case it’s from the upper left) and paint in some highlights on the near side, and some shadows on the far side that even cast onto the ground. Don’t get lost in adding details to the branches quite yet and it’s best to use a light hand.
For the highlights, I like to use a layer with the blend mode set to Screen or Add, and for the shadows I use a layer set to Linear Burn or Multiply. It’s worth trying both, and using the opacity slider to tone things down if you need to. If you want to keep things extremely simple, you can use a medium gray color for both and depend on the blend mode to do its thing. Otherwise, you can also experiment with a slightly yellow color for the highlights and a blue or teal for the shadows. Just have fun playing around and see what looks best!
You can get the shading brush I’m using for Free HERE in the Apprentice Brush Pack.

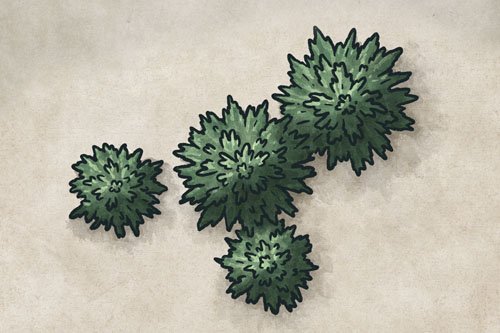
Paint Highlights for Finishing Touch
You can now go back with a smaller brush to add in some highlights near the top of the tree where the light would hit most directly, as well as on the tops of some of the branches. Then, darken the shadows where branches overlap and where the light would be more obscured by the tree. You can do this on the same layers you used before, or create new ones with the same blend modes to have a little more control.
You’re done! I hope you found this helpful so you can draw some pine trees on your next city or battle map.
Happy Mapping!
Josh