How to Draw a Chasm
As your party travels through vast plains, they stumble upon an enigmatic chasm slicing through the landscape. Its depths are shrouded in darkness, enticing you to uncover its ancient secrets.
There are so many storytelling possibilities for your RPG adventure by including something like a mysterious chasm. Is it a natural feature? Was it created by someone in the ancient past with the power to make fissures in the rock itself? Is it the entrance to a portal or an underground city? The question is…how do you draw a chasm? In this tutorial, I’ll walk you through the process so you can easily add a crack in the earth for your party to explore on your fantasy map. Let’s start mapping!
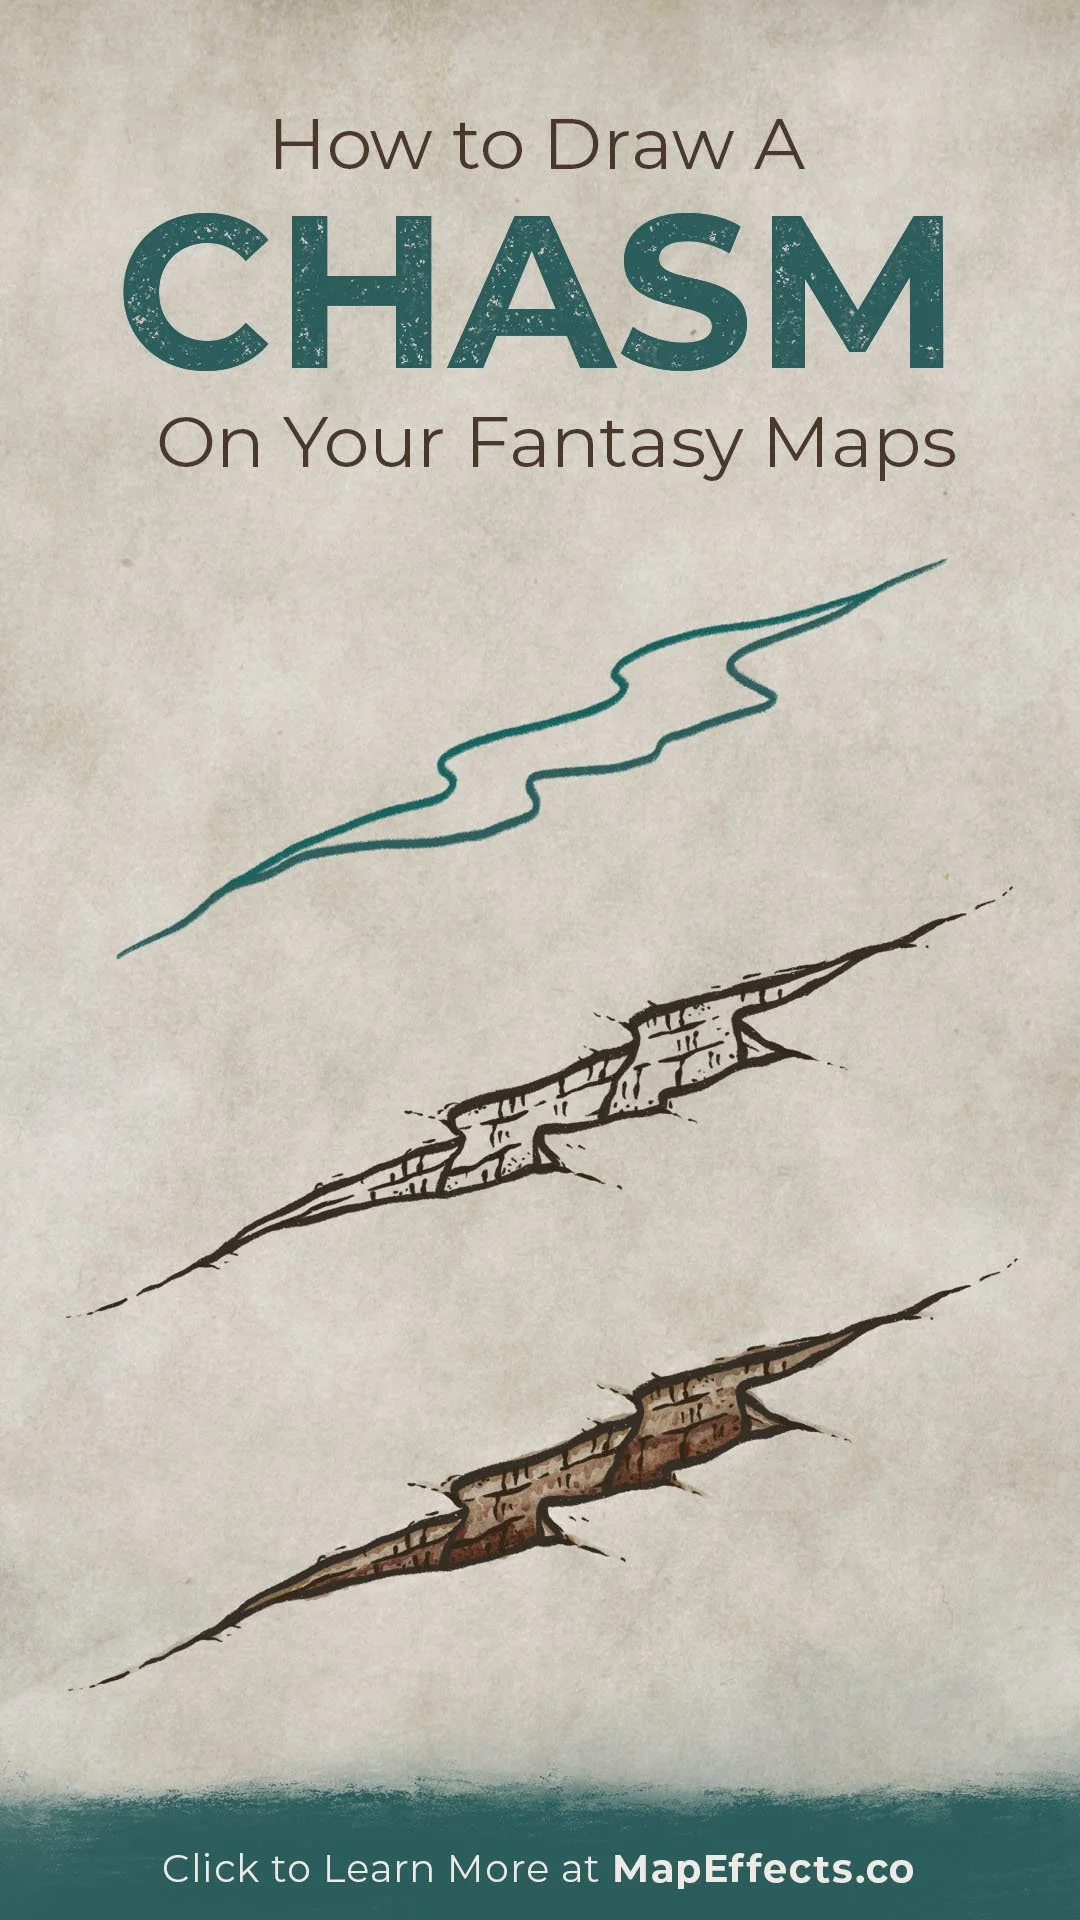
Sketch a Cliff Edge
Grab a pencil and sketch a squiggly line with a sweeping, horizontally dominant stroke. By doing this, it will give the impression that the cliff face is in isometric perspective, which will be important for getting the depth you want on your map. I would encourage you to follow along this first time, but then start experimenting with different shapes to see what you come up with.
Sketch the Second Cliff Edge
Sketch another line that generally follows the same shape as the first line. At this point you are just focusing on the broad shape, so don’t worry about adding detail quite yet.
Add the Cliff Faces
The last part of the sketch is to draw the faces of the cliffs to start giving the chasm a sense of depth. Look for each point where the cliff would jut out, and draw a vertical line down from that point. You can see in this example I also curved the lines back from the edge slightly to add a little more visual interest.
Ink the Line Art
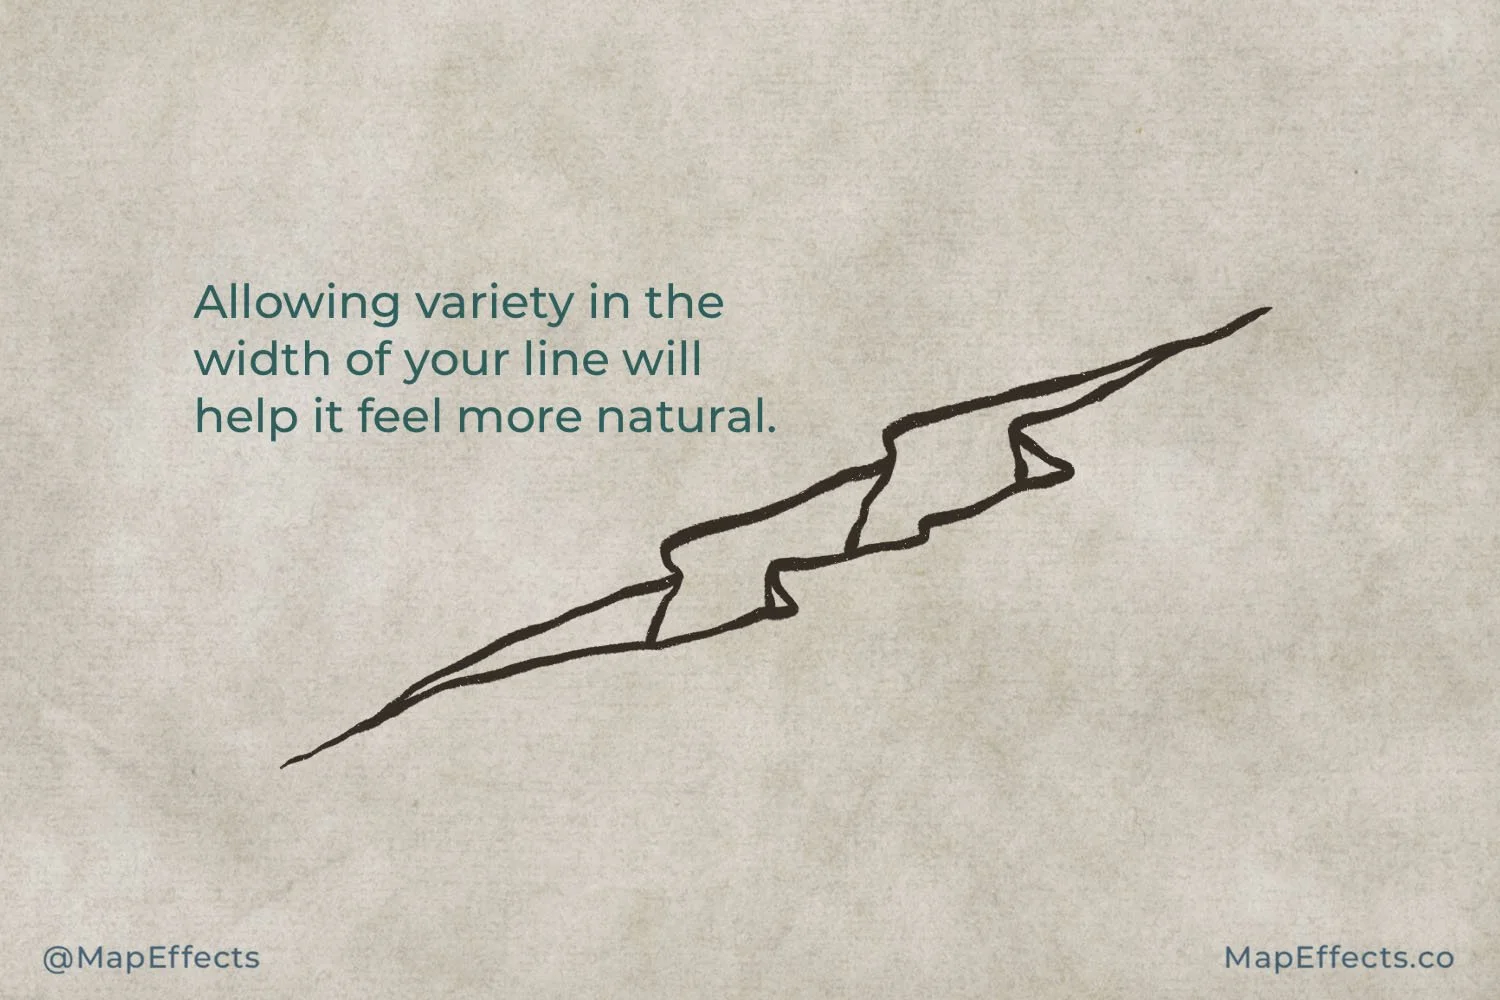
Grab your pen, or create a new layer if you’re working digitally and start inking the main line art. I personally prefer to use a brush pen, or a pressure sensitive brush if I’m drawing digitally so that I can easily vary the line width. Especially with rocky features like this, introducing some “imperfections” will really sell the natural feel.
More Mapping Tutorials
Ink Details & Texture
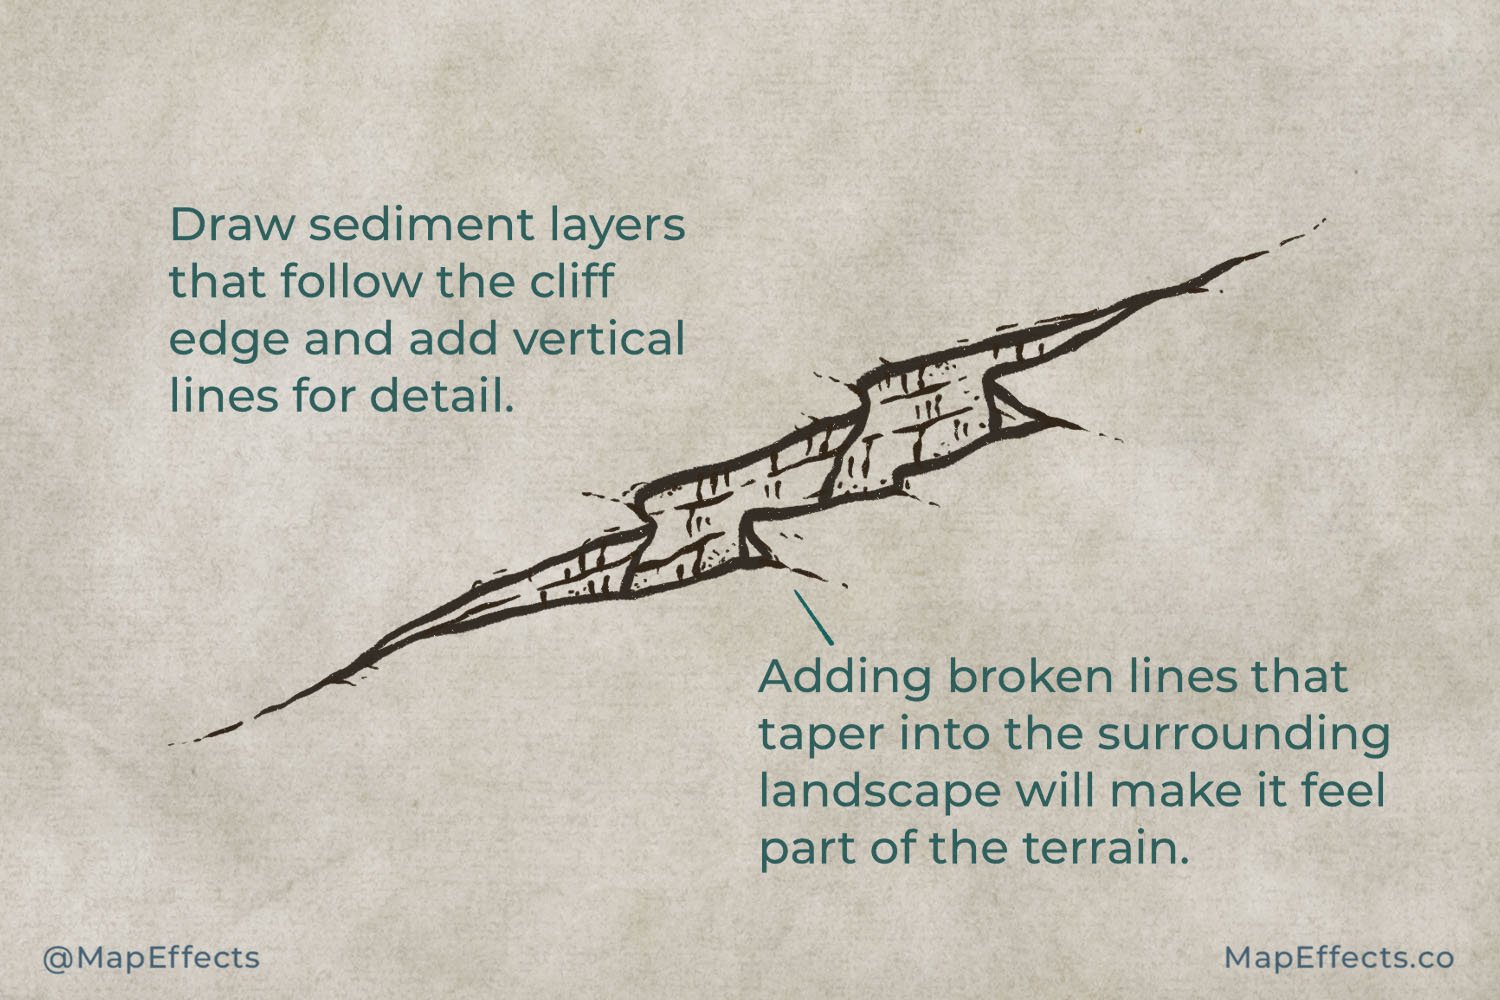
When it comes to adding details, the first thing I like to draw are some sediment layers that follow the general shape of the cliff. Not only does this look like layers of rock, but it also creates something called contour lines that help define the shape of the cliff. If you want a better explanation of how contour lines can give your maps dimension, I suggest Checking Out the Map Tip HERE.
Once that’s done, you can add more verticle-hatching lines that go down the face of the cliff. You can also throw in some random stopping to make things look a little more rocky.
Block in a Base Color
With your line art all done, it’s time to paint in some color. You have a lot of options, depending on your color palette for your map, and the type of stone that is being exposed. For instance, if your terrain is green grass, it may look good to use more of a blue-gray for the rock. But, to keep things simple for this tutorial I am going to go with the classic sepia, old-world style map and focus on using browns. Pick a color that’s a little darker than your background, and paint it over the cliff faces as well as the subtle cracks that taper into the surrounding landscape.
Add Main Shadows
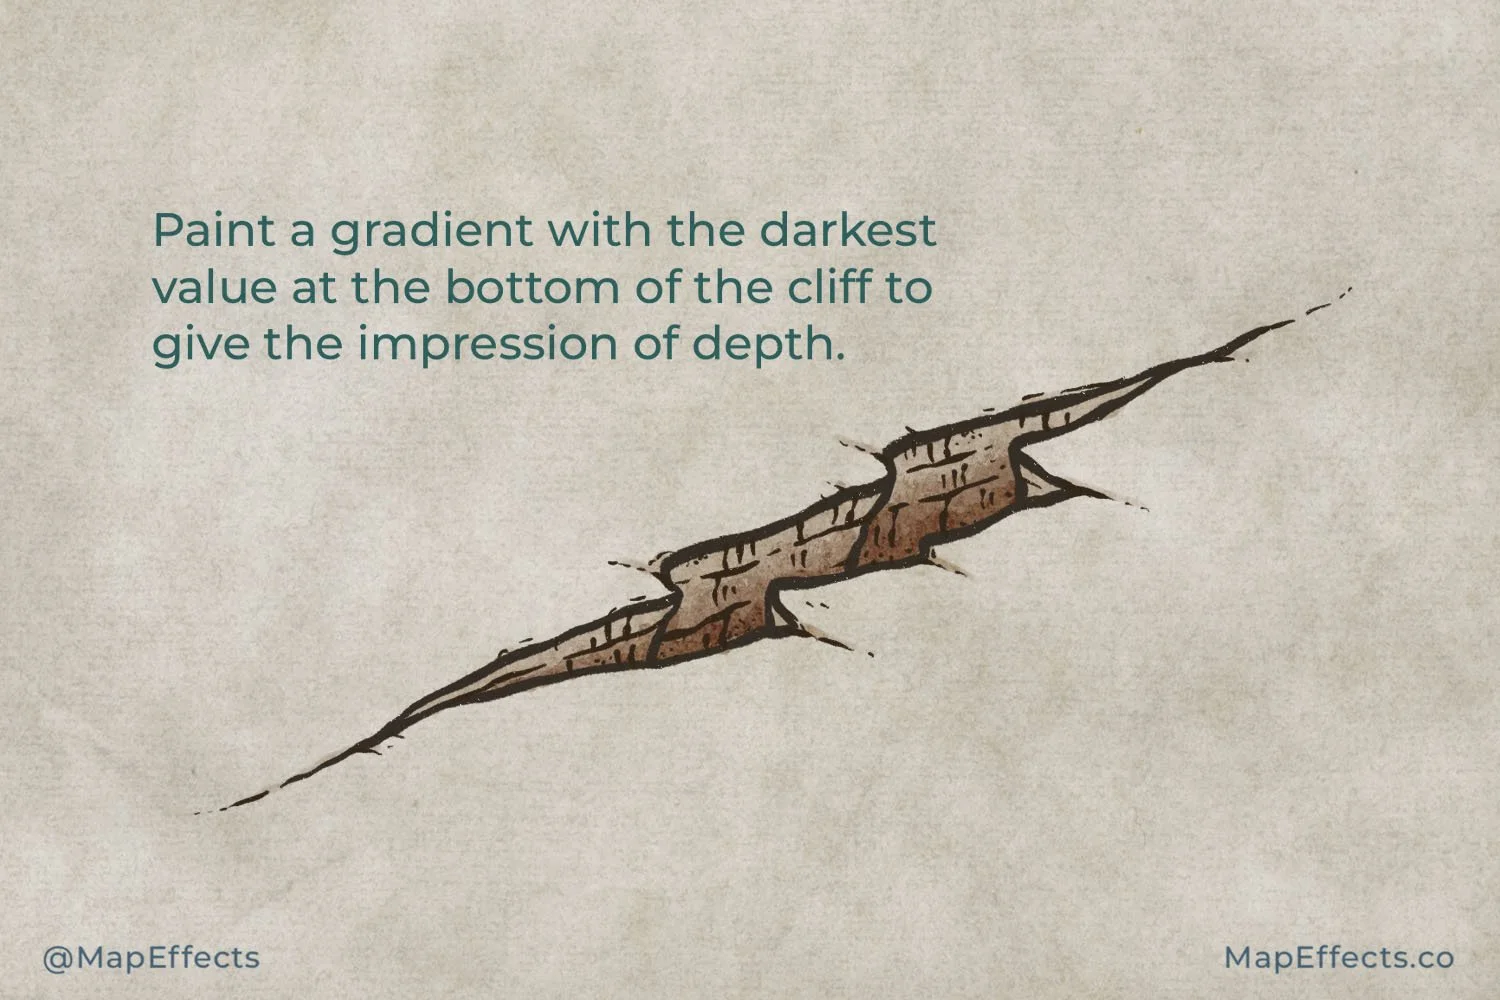
As you add the first pass of shadows to give this dimension, focus on creating a sense of depth to the chasm. The light will be more and more obscured the further you go down the cliff face until it becomes completely black. Paint a simple gradient over the entire cliff face with the darkest shadows at the base.
You can get the shading brush I’m using for Free HERE in the Apprentice Brush Pack.
Darken Shadows on the Shadows
With your base shadows done, you can make another pass and deeper the shadows at the base of the cliff face, and everywhere details would overlap. Use your original line art as a guide and darken the shadows below the sediment layers and along the detail lines. Remember though, you’re painting an organic rock surface so don’t worry about making it look too “perfect”…because it won’t look right.
Paint in Highlights
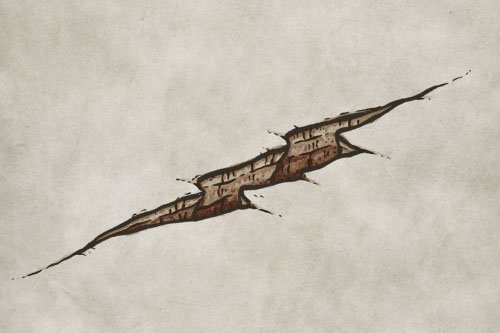
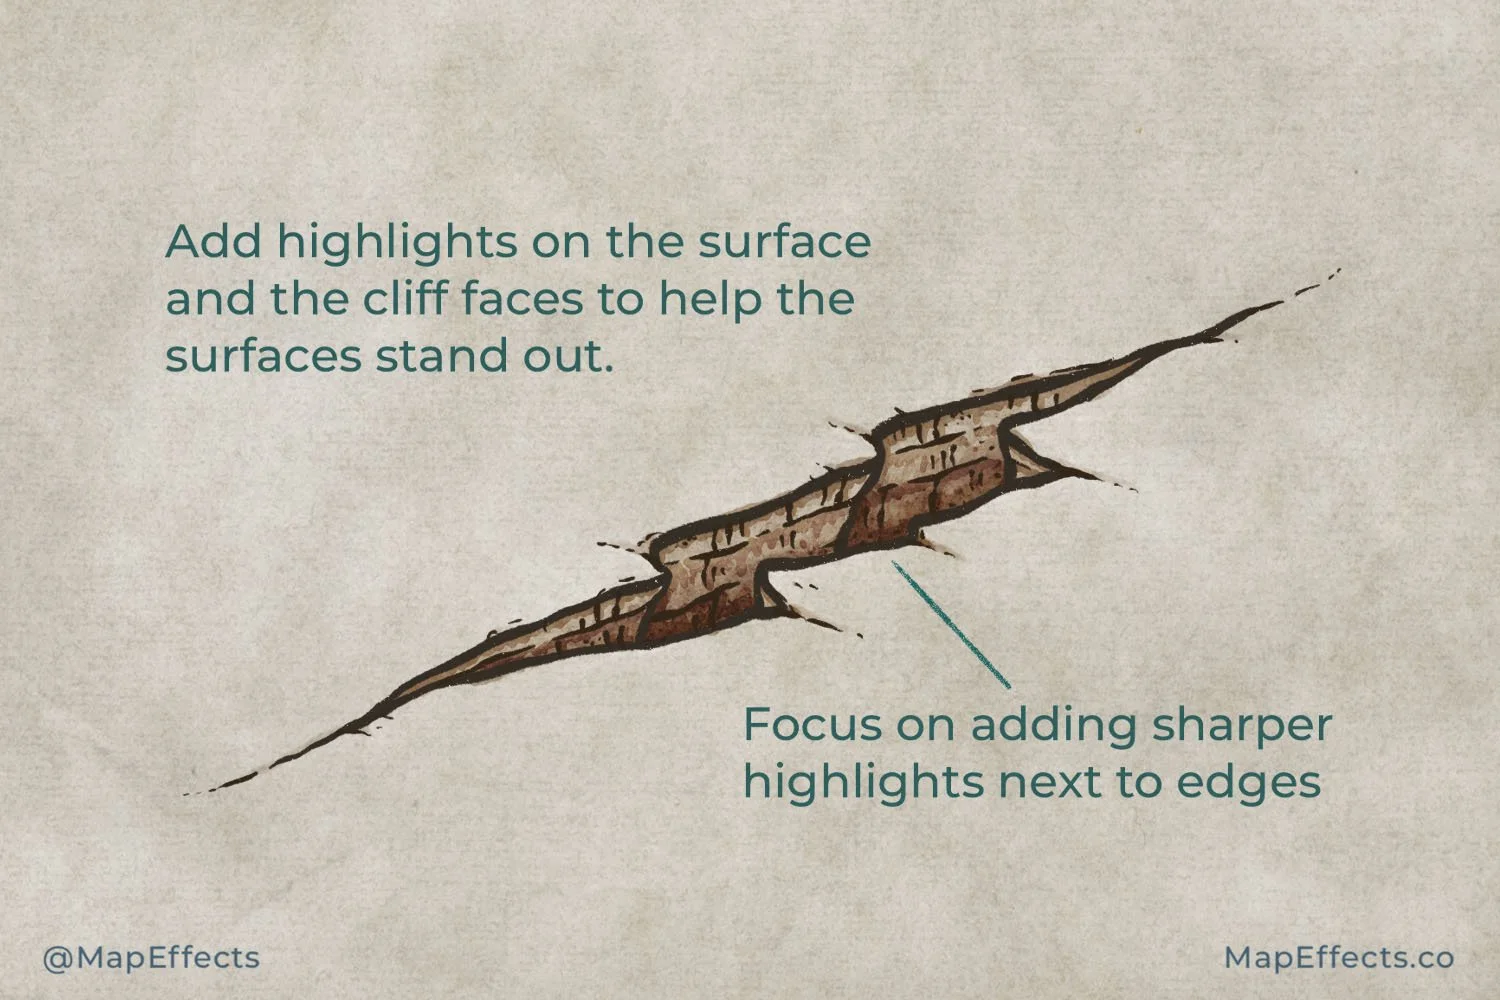
Finally, you can add some highlights to help everything stand out a bit more. Keep it subtle though, or you may cause the rock to look unnaturally reflective. Unless of course the chasm reveals an obsidian rock face, in which case make those highlights nice and bright!
If you’re working digitally like I am, make another layer below your line art, and above your shadow layers, and set the blend mode to “Add” or “Screen”. You can use the same brush as the previous step, but you can switch to a lighter, warmer color (#F2E6E0). In this case I added some broad highlights to the very tops of the cliff face, and some sharper highlights along the edge at the top to help it stand out more.
With that, you are all set to draw a cave on your next fantasy map. I hope you found this helpful, and I look forward to seeing your maps!
Josh


