How to Draw Old-Growth Forests
Do you want to learn how to draw a dense, old growth forest on your fantasy map? From Fangorn in Middle Earth, or The Old Forest in Harry Potter, some of the most iconic locations are hidden beneath the trees.
In this tutorial I will walk you through the steps to create an ancient woodland to add depth and a sense of history to your map. I'll make sure you can bring these majestic trees to life, no matter your skill level!
Be sure to pick up The Free Apprentice Brush Pack to use for this tutorial.
Sketch the Shape of the Forest
Before you get too excited and just start drawing trees, I suggest you roughly sketch where your forests will go on your map with some simple shapes. The reason this is important, is drawing hundreds of tiny trees is time consuming, and you don’t want to waste a lot of time redoing a forest when you realize it’s in the wrong place.
Draw a Few Trees for Consistent Size
How do you prevent the inevitable size drift where one size of the forest has small trees and the other has trees twice their size? This happens when somewhere along the way, you start drawing a tree slightly larger, and then you do another a little bigger…the next thing you know you have a time-consuming problem.
Drawing a few basic trees at the front of your forest will give a visual check to help you stay consistent. Honestly, I don’t do this just for one forest, but I like to do this across all the forests on my map as well to keep things to scale.
Draw the Front Row of Trees
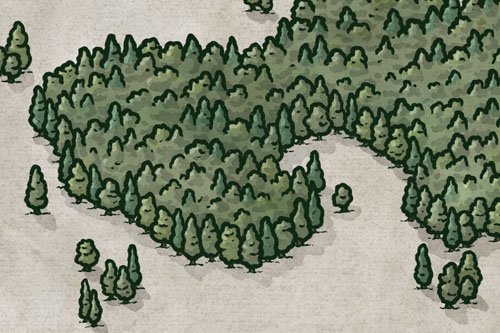
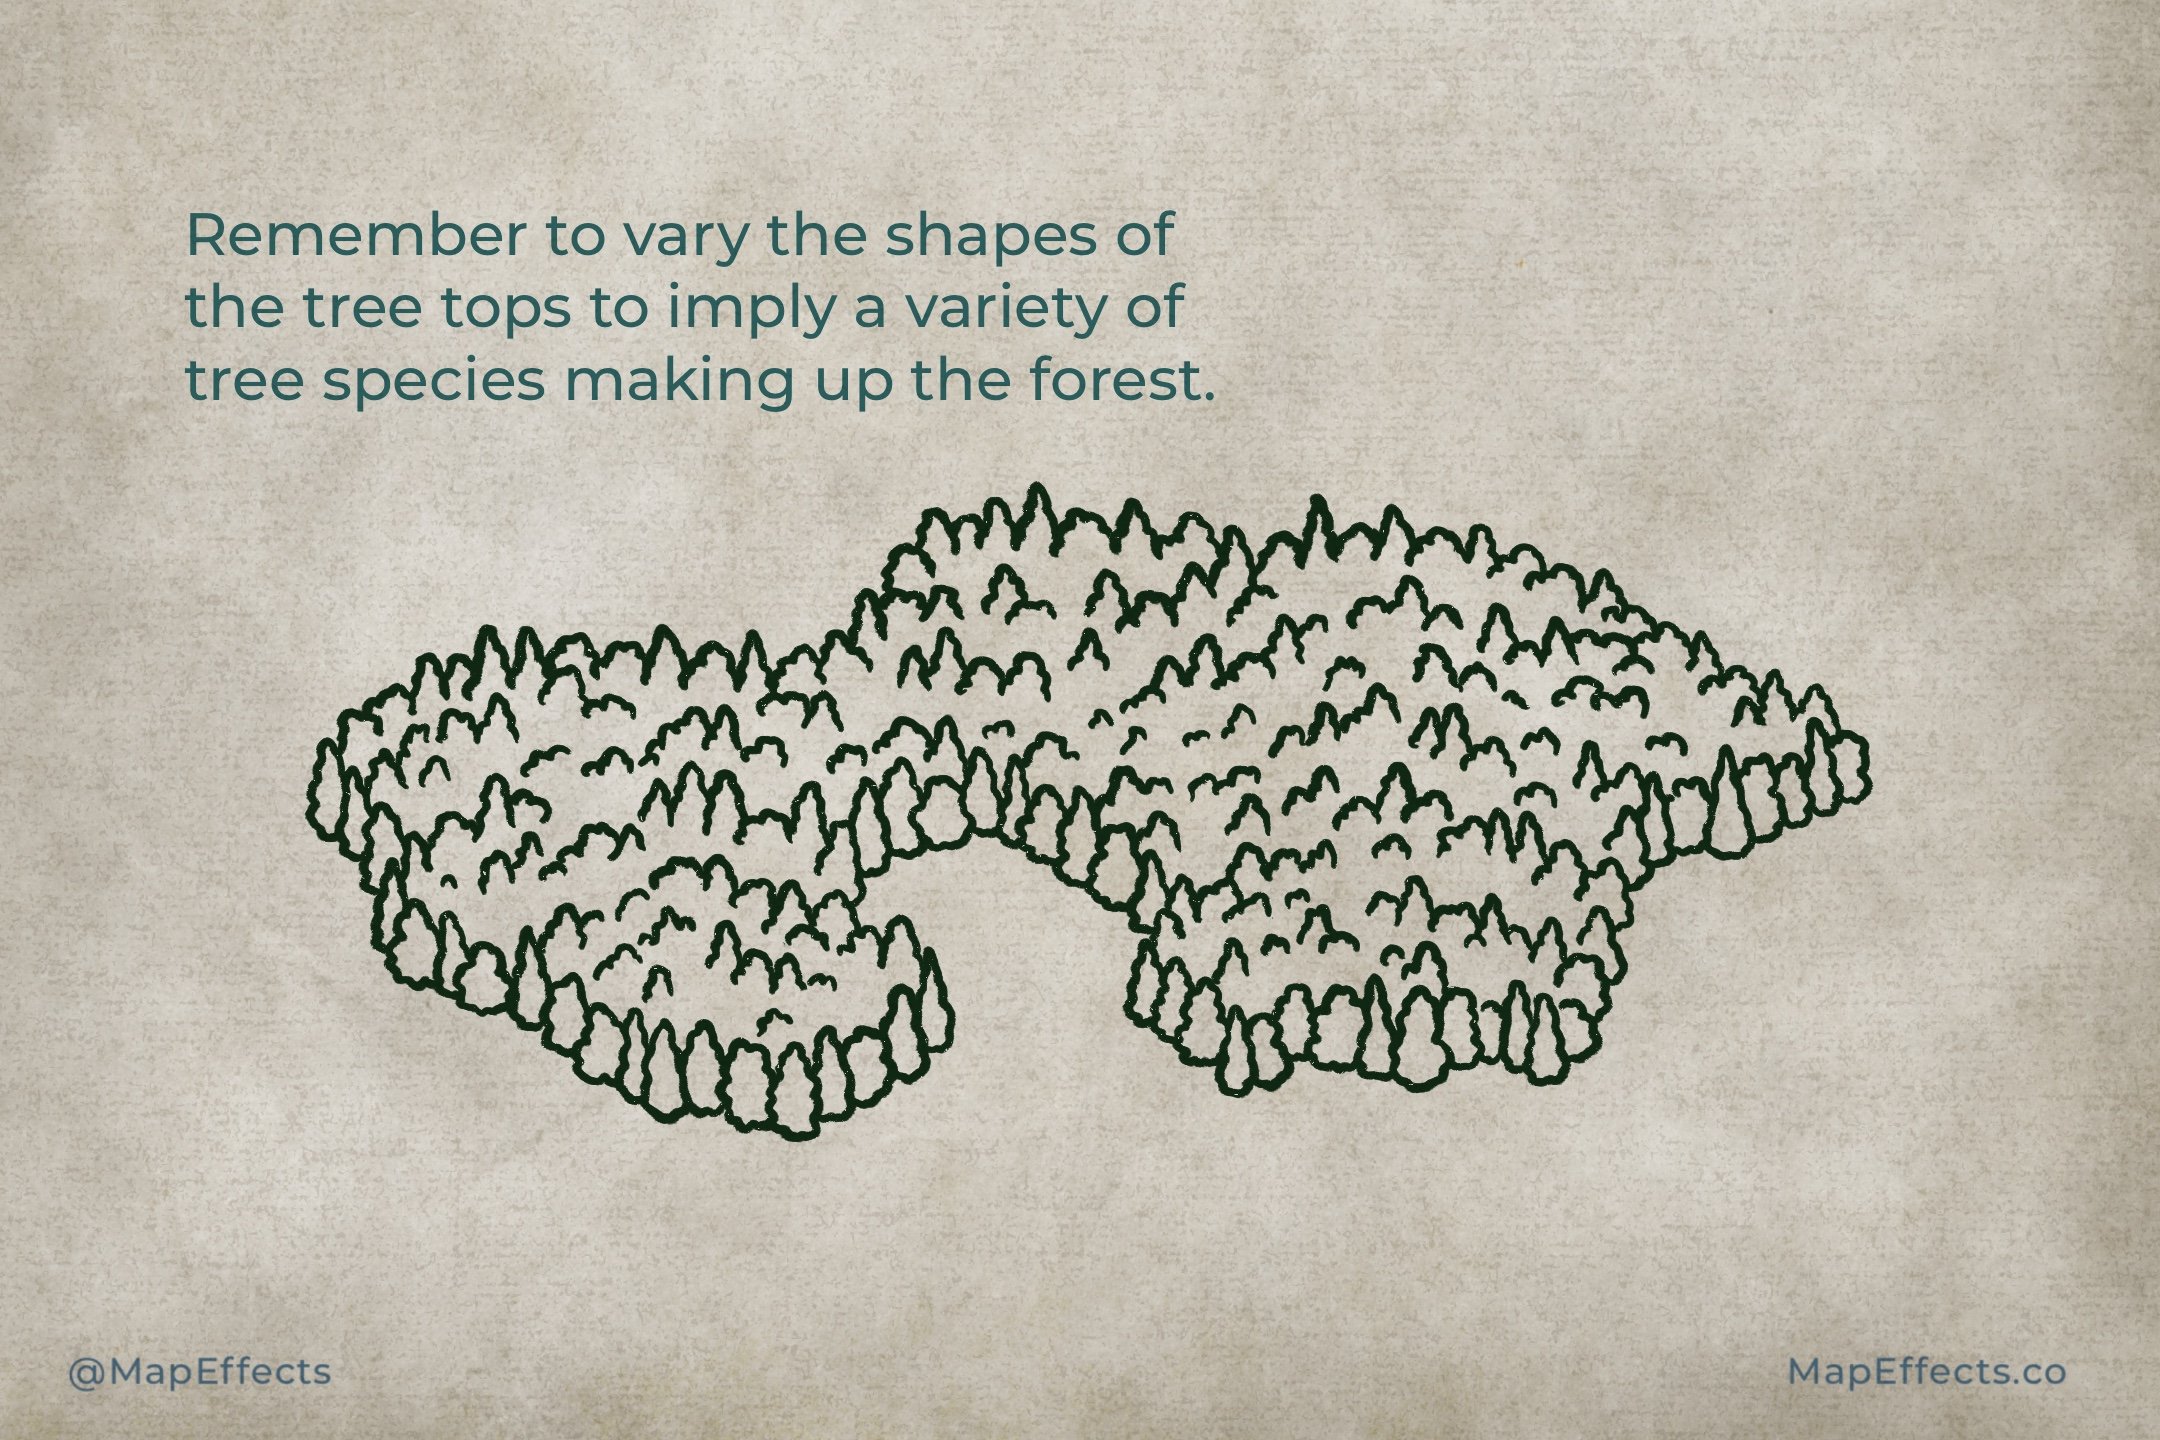
You can now fill out the rest of the “front” of the forest. Be aware which tree is visually behind another to create realistic depth and overlap. For this style of forest you’ll want to vary the shapes of the trees to include some that are more rounded, and others that come to a point. Just try to keep a sense of randomness so you don’t create too much of a pattern.
The other key to this style is to not worry about making the trees look too perfect. Allow a bit of squiggle and looseness in your stroke to make each tree unique.
Close Off the Forest
The next step is to close off the forest by adding the tree tops in the back. Remember to leave the bottoms of them open as if you’re only seeing the tops of the trees.
More Mapping Tutorials
Draw Some Additional Tree Tops
To add details to the middle of the forest, I like to start with a few main tree ridge-lines that have a slight curve to them. This will imply some hills underlying the forest so it doesn’t appear too flat. Remember to keep mixing up the varieties of trees!
Finish Adding Tree Tops
You can now fill out the rest of the forest by scattering some tree tops throughout. How “full” you make it is a matter of personal preference. Some would say I’ve added too many in this example, while others would make sure there were no blank areas at all. Personally, my preference as you can see is somewhere in the middle.
Finish Drawing Details
Now it’s time to add the finishing touches with the tree trunks and some simple details on the trees. In the example above, you can see that trunks are pretty basic with a couple of curving vertical lines and some broken lines on the ground. Seriously, don’t overthink it!
for the rest of the trees just a few broken lines throughout is just enough to give a bit of texture. You will notice that because of the perspective, most of the details have a slight downward curve to them, which just further sells the perspective.
Add Scattered Trees
Okay, I lied…there’s one more thing you have to do for the line art. Just add a few more scattered trees around your forest so it blends into the landscape and doesn’t feel so unnatural and blocky. Just be sure to vary the number of trees in the groupings to avoid any obvious patterns.
Block in Color
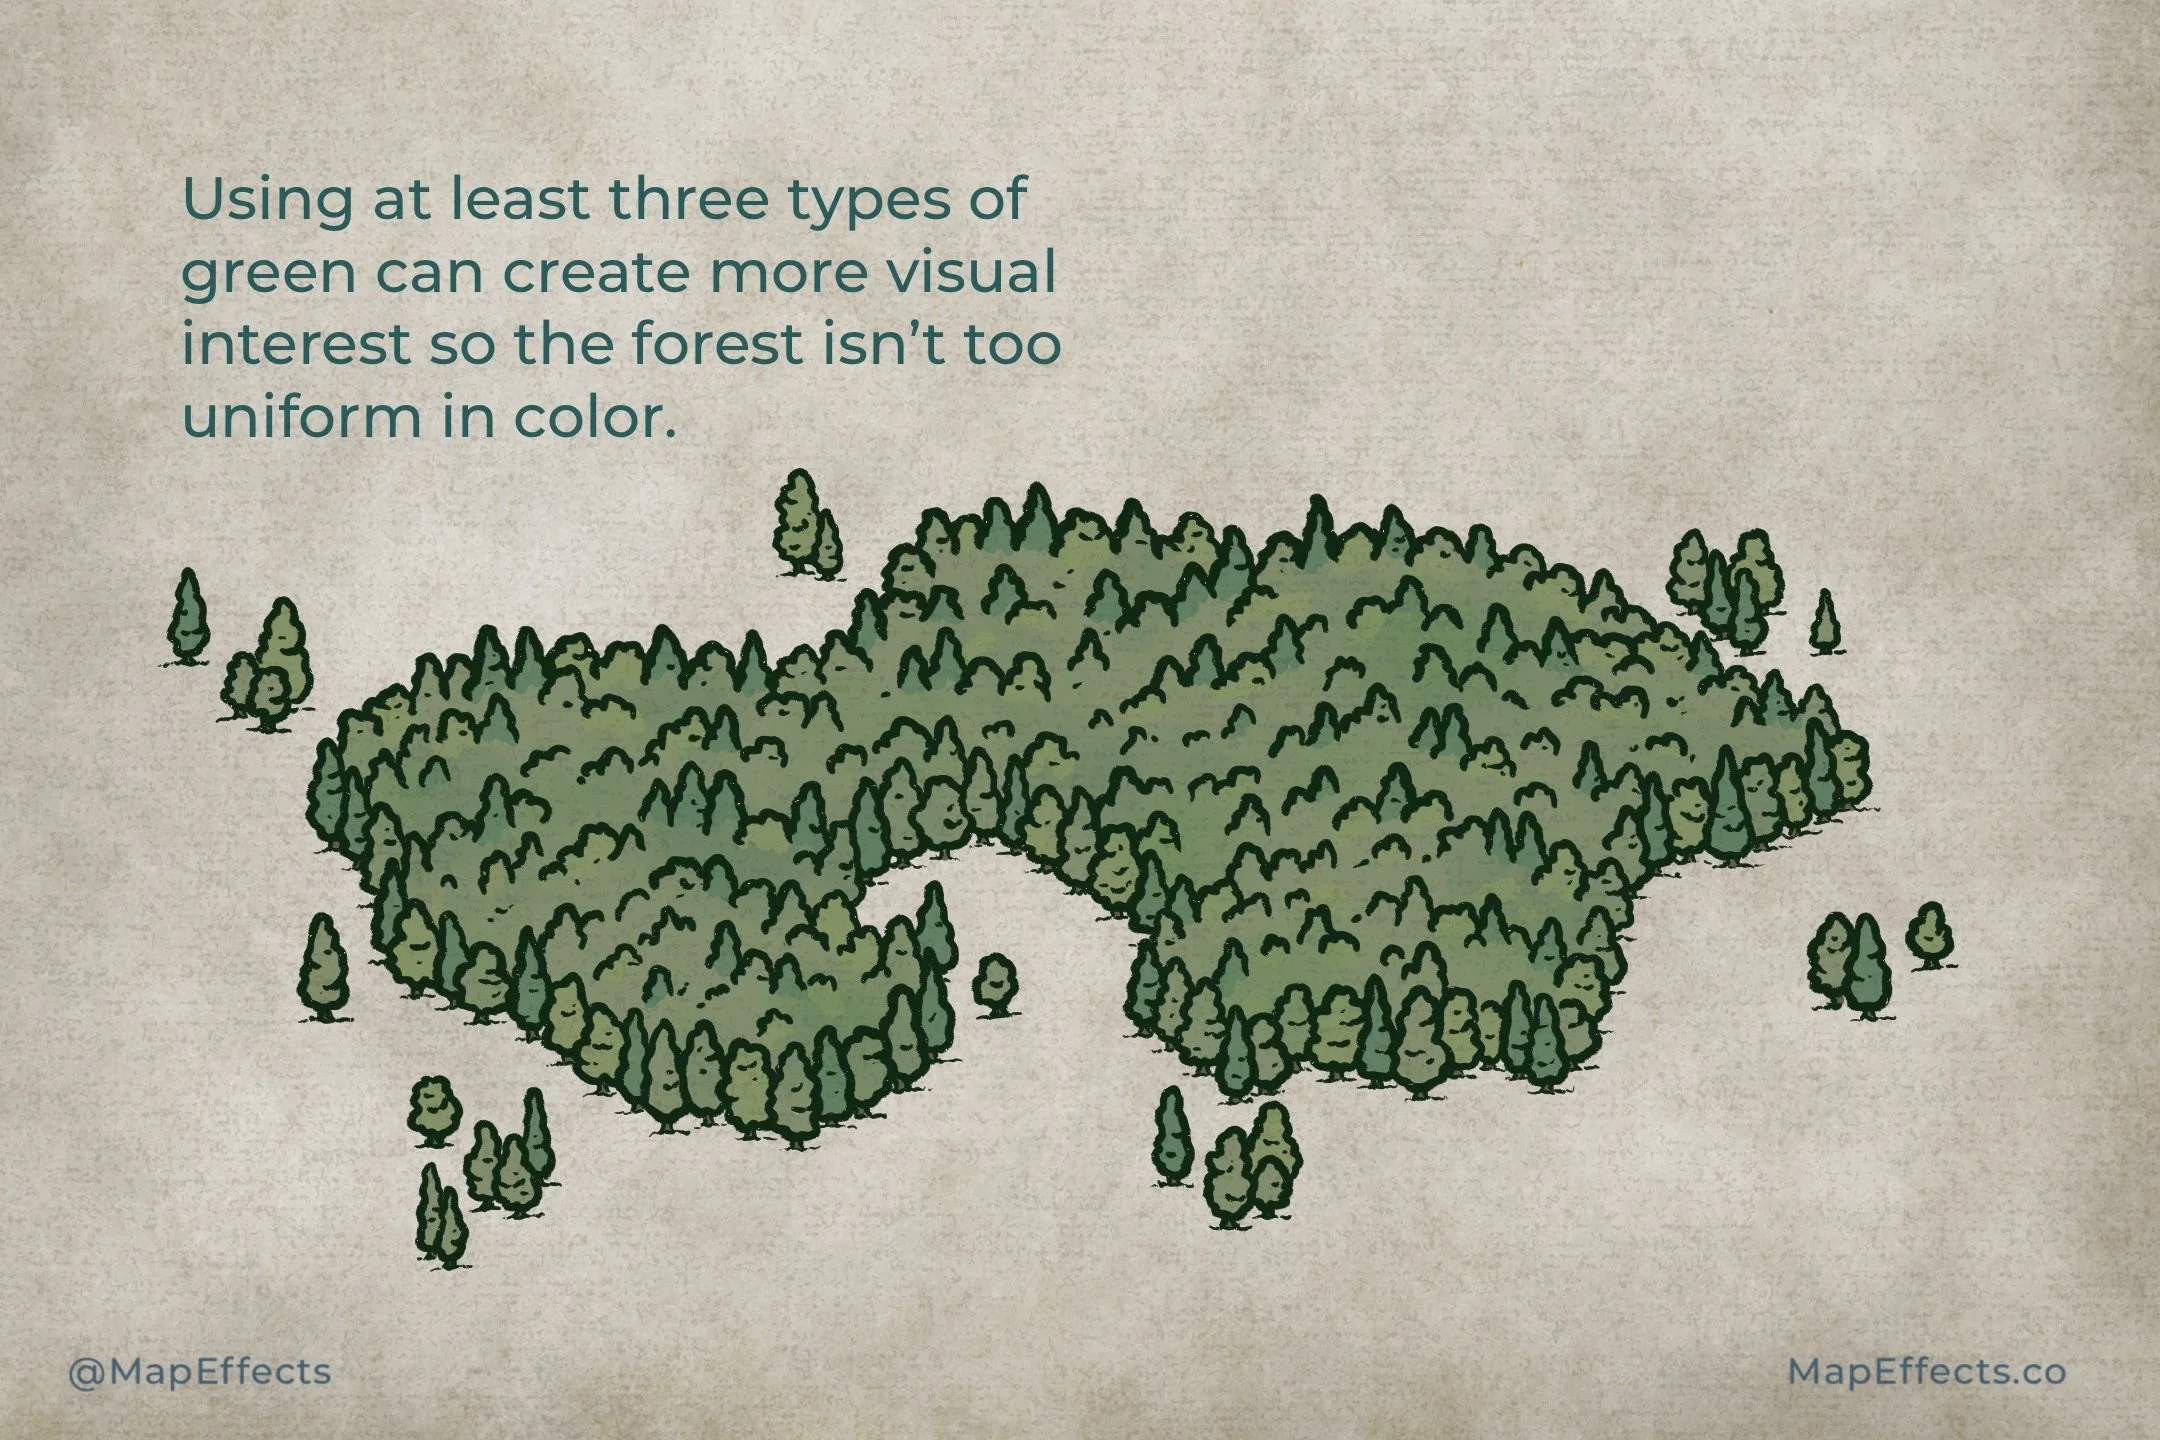
Now it’s time to make this forest pop off the page with some color. I like to pick a base green to fill the entire forest, and then come back with a few variations on the green to paint some individual trees. Not all trees have the same leaf color, so it’s good to mix it up.
In this example, I took my base green and then shifted the hue a little toward blue and lowered the value to get a color similar to a pine. I applied it to many of the more pointed trees. I then went back to my base color and shifted the hue more toward yellow, and lightened it slightly to get a warmer color to apply to some of the other trees. You could bounce around the green hues more or less and it’s really up to personal preference. The point is to introduce a bit of variety.
Paint the Shadows
If you are working digitally like I am, create a new layer above your color layer and below your line art and set the blend mode to Linear Burn. For this example I set my color to a medium gray, and used a low opacity brush to block in the shadows.
Note your light source, and paint shadows on the opposite side of each tree and tree top. You can also add some shadow between the tree tops in the middle of the forest to give some texture. Lastly, you can paint a cast shadow below the front row of trees. Don’t make it too even though as you want to keep that organic feel.
You may need to play with the opacity of the layer to dial it in where you want it to be.
Finished With the Highlights
Last of all, it’s time for some highlights. Create another layer, and set the blend mode to Add or Screen. I kept the same brush and color, and started painting highlights on the side of the tree closer to the light. You can also use a softer, large brush to paint a broader highlight on a few of the hills of the forest to give some more dimension.
With that, you can now draw all the forests on your fantasy map. I hope you found this helpful, and I look forward to seeing your maps!
Josh


