
How to Draw a Water Wheel Mill

How do you turn grain into flour without electricity? One of the most effective methods was to harness the power of water to turn a large water wheel, which would turn a great stone that would grind large quantities of grain into flour. Including a water wheel on your city or village map is a great way to give another layer of interest and realism to your fantasy setting.
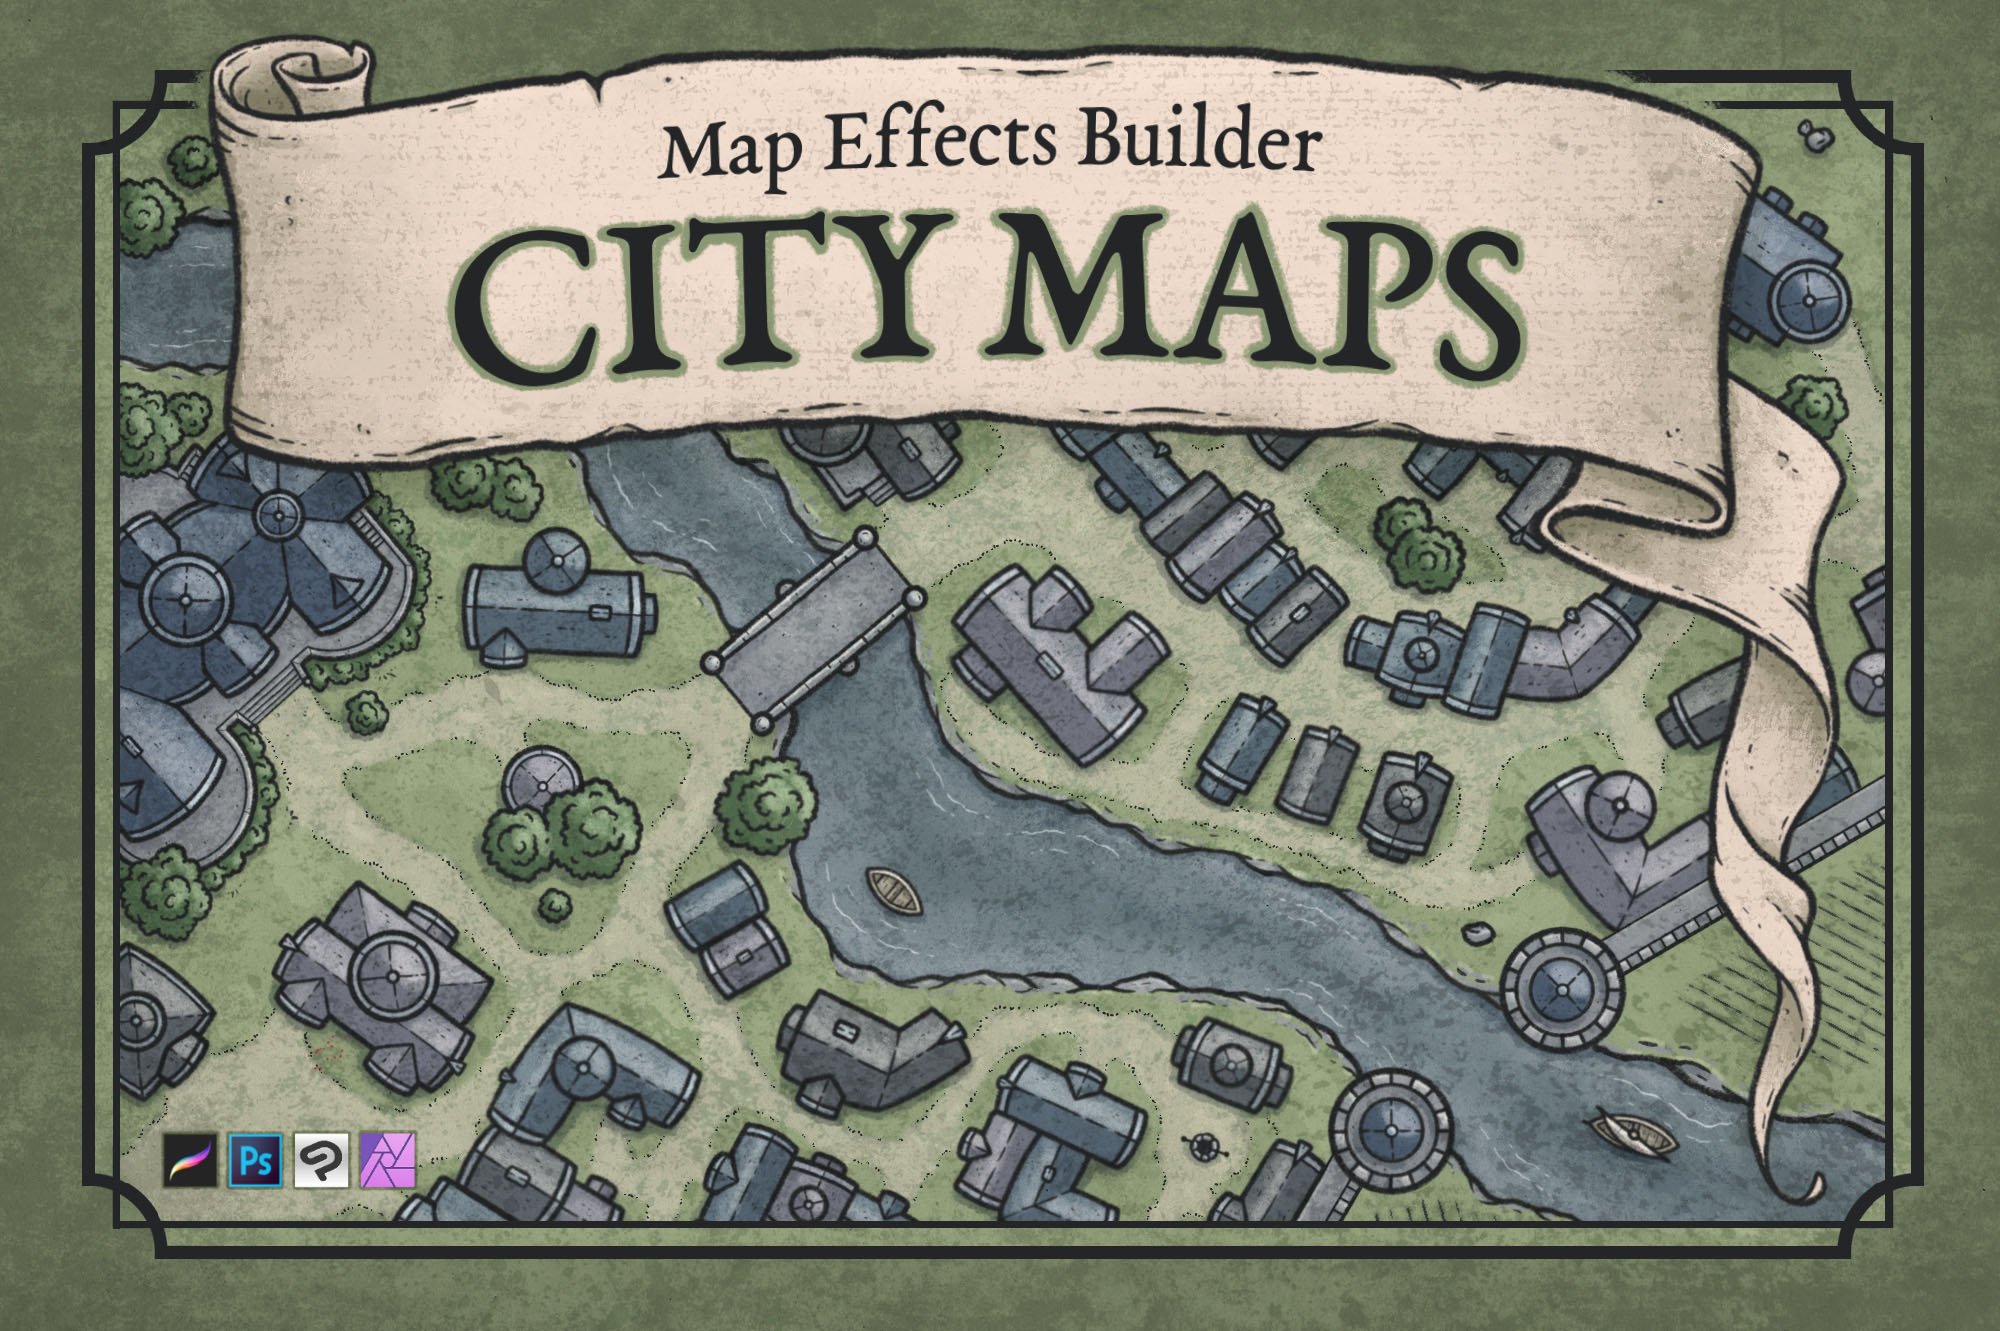
All the brushes and the building in this tutorial are available in The City Map Builder for Procreate, Photoshop, Clip Studio Paint, and Affinity.

1: Sketch Basic Shapes
Start with some basic rectangles and circles to define the shapes of the building. Keep things simple and focus on the composition at this point.

2: Refine the Sketch
For this water mill, we want it to look a little more fantasy and not merely “medieval.” Add curves to the ends of the building, the windows, and the door to give it a little more unique shape.
For the water wheel, you can exaggerate the perspective a bit to give the impression of the top of the water wheel being closer to the viewer than the base. To do this you’ll just want to make each end slightly more narrow than the middle.

3: Draw the Base Line Work
If you are working digitally, create a new layer for your line work and begin inking the main outline of the building.
You may notice I kept the lines thinner on the water wheel because when I tried it with thicker lines that matched the rest of the building, I didn’t care for how it looked. Experiment though and see which you prefer!
More Tutorials You May Enjoy


4: Begin Adding Details
To draw the peaks of the roofs you’ll want to use a thinner brush, and try to use broken lines to get a more organic feel.
Add some variously sized boulders near the base of the tower so that it looks like the bank was reinforced to support a structure so close to the water.

5: Give it Some Character
Finally, you can go through and add little details like roof tiles, a path, and waves in the water to give your illustration a little more personality. You don’t have to go crazy here with the details, a few small dashes on the roof are more than enough to give some texture.
Note the spacing on the water wheel gets narrower as it goes down the wheel. This again helps give the impression of height and shape.

6: Block in the Colors
It’s now time to start breathing some life into our drawing with some color. For this example, I used more muted hues to match the aged paper background.
Try the Black & White Trick
One trick to see if you have good contrast in your values is to switch your drawing to black and white temporarily to see if it still looks good.
The City Map Builder
$34 | For Procreate, Photoshop, Clip Studio Paint, & Affinity
Want to create your own hand-drawn city map with a few clicks and a little imagination? With the City Map Builder, you will get over 300 features, including the Water Wheel in this tutorial, as well as the brushes I have throughout. Click the button below to check it out!

7: Paint Base Shadows
If you are working digitally you can now create a new layer above your colors and set the blend mode to “Multiply.” Pick a light source to guide where you place the shadows on your building. You may notice that I seemingly picked an odd direction with it coming from the bottom right. Remember, this map is in a top-down perspective so your light could be hitting whatever side you choose.
For the color, I used a very desaturated blue to reflect the blue ambient light that would be coming off the sky. But, that’s a whole other discussion! With your light source in mind, use a low-opacity brush like the Gritty Shader included in the City Map Builder and begin painting shadows anywhere the light would be hidden by the building.

8: Paint the Highlights
Create a new layer and set the blend mode to “Add”. With the same brush we used in the previous step you can begin painting in some highlights with a light, warm color. You can add some stronger highlights on the tops of the buildings along the peak of the roof, as well as in the water, particularly where the water is being churned up.
A Tip on Blend Modes
“Add” and “Screen” are the main blend modes I use to add highlights. “Screen” tends to wash out most of the saturation while brightening the overall value, while “Add” brightens the values while adding a bit more of the hue you’re painting with. Since I wanted a little warmer light source I decided to use “Add” in this example.
You’re done! If you found this tutorial helpful be sure to follow MapEffects on Instagram and tag me with the map you create and I may feature your work. Thank you, and I look forward to seeing your map!
Josh
