How to Draw an Open Storage Sack
One of the things that adds flavor to a dungeon or battle map is the details you add to the room. If you want to create immersive settings for your RPG campaign that your players want to explore, they shouldn’t be walking into mostly empty rooms with random monsters. Is this just a sack of apples, or could there be something hidden inside?
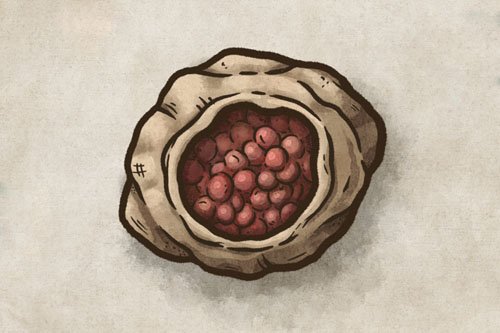
In this tutorial, I’ll walk you through how to draw an open storage sack filled with provisions…and perhaps something more sinister
All of the brushes I will be using for this tutorial are available in The Free Apprentice Brush Pack
Sketch Basic Oval Shapes
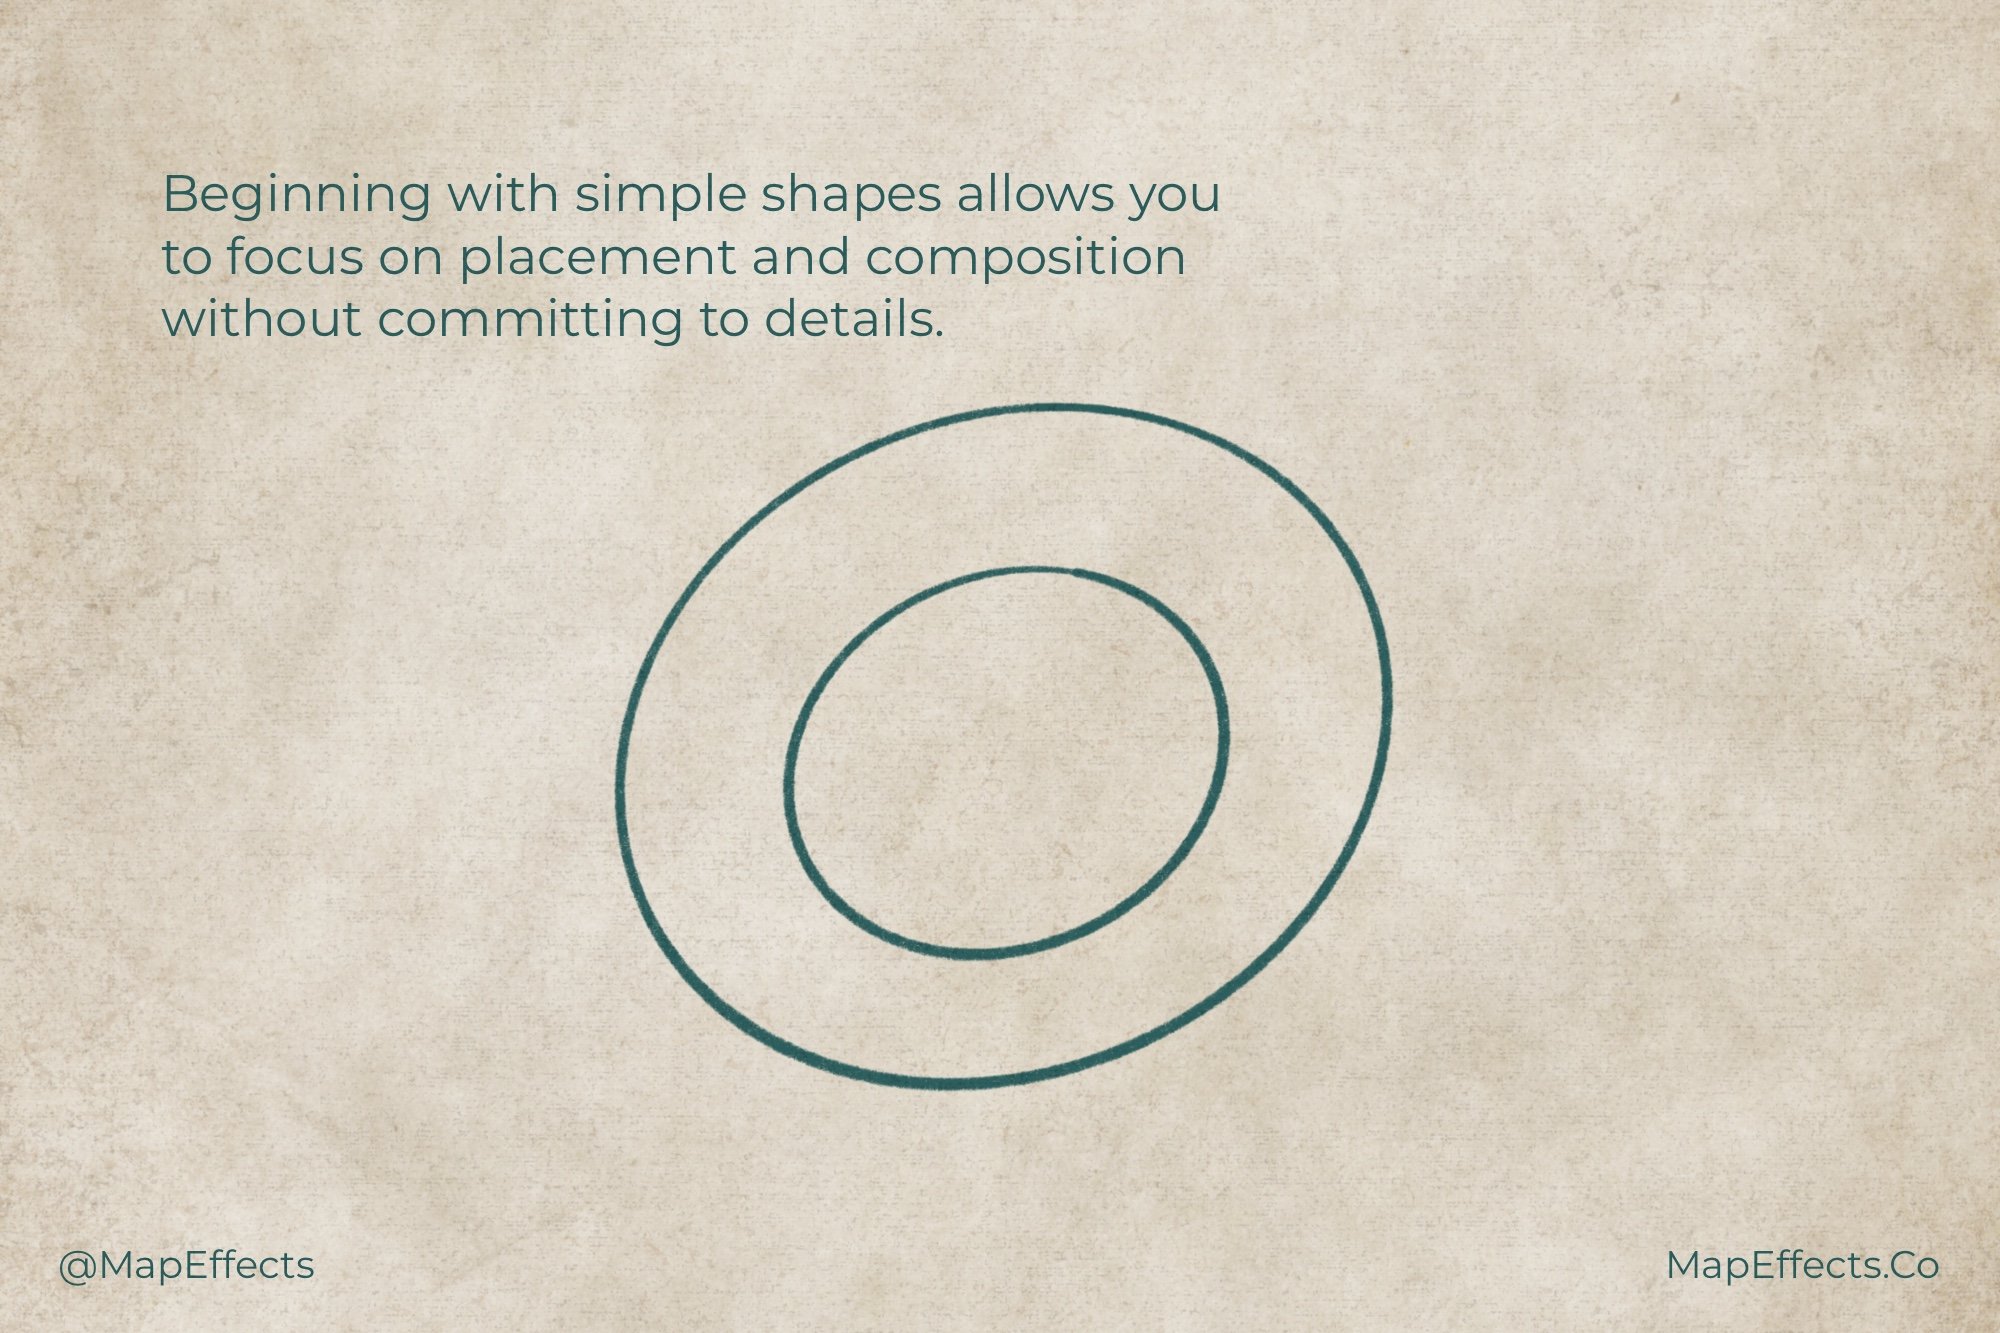
If you’re ever feeling overwhelmed with how to draw something, begin by breaking it down to its most basic shapes. In this case, a couple of ovals to show the outside of the burlap sack, and the open mouth of the bag is enough to begin. This also helps you focus on placement and scale before you potentially waste time on the details.
Ink Rough Shapes
You can now take those ovals as your base, switch to your inking pen, and add a rough line around those base shapes. If you’re drawing a bunch of different objects in your dungeon, I recommend using a consistent pen width at least for the main outline of the object, even if it looks a bit thick. It helps differentiate it from the background, and using the same line width helps keep things consistent across a map.
Build Layers for Depth
When it comes to adding details, I switch to either a brush pen or if I’m working digitally, something that is pressure-sensitive so I can easily vary the width of my lines. While you want the main outlines to be a heavier-weight line, the details should vary a bit more. Adding these layers will help the bag look nice and lumpy as if it’s filled with apples.
Ink Texture and Apples
To add the apples (You can put whatever you want inside like grain…or skulls wink) you want to begin with a few simple circles with broken lines, and add layers behind and around them. Build them up gradually and the next thing you know the bag will be full.
You can then go through and add a little bit a stippling where layers overlap and where shadows would naturally appear. Even though we will add some color and shading in the next step, adding a bit with the line art helps it stand out and maintain that illustrated feel that I find to be a bit more classy.
More Mapping Tutorials
Block in Main Colors
Now, you could just create a new layer below your line art (If you’re working digitally), and block in a cream color and a red color, and call it good. But I know you…you want your map to stand out…we can do better. What I like to do is block in those two main colors, and then I will come back and shift the hue, saturation, and brightness of a color around just a little bit and then paint that in some different areas. Colors in the real world are just not that uniform, and introducing some subtle variation like this is…chef’s kiss
Add Main Shadows
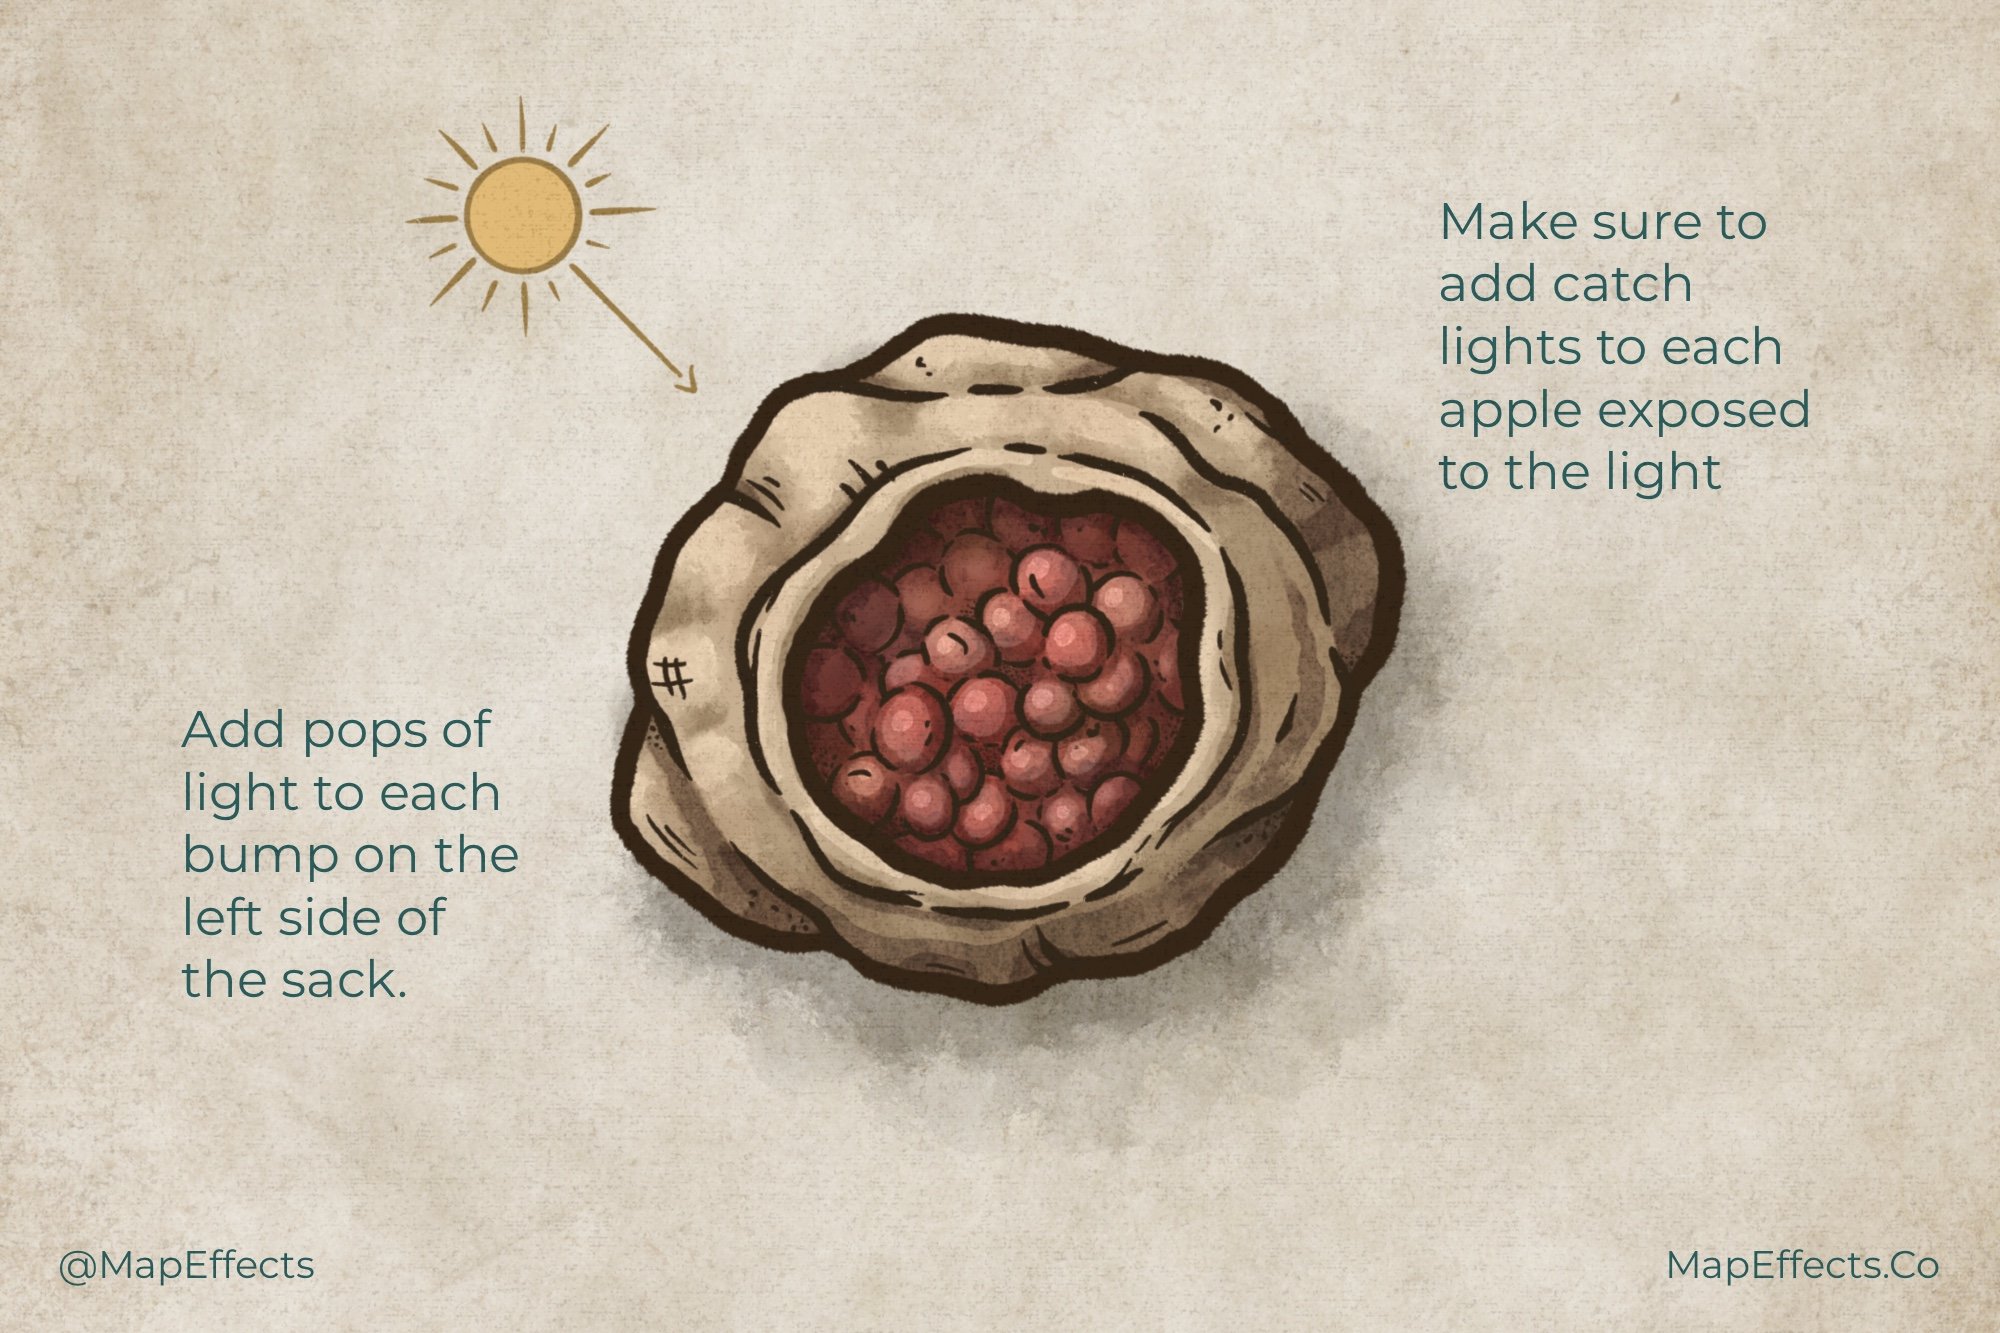
Create a new layer and set the blend mode to “Multiply” or “Linear Burn” (Try both and see what you like…Linear Burn tends to be darker and more saturated). Then determine what your light source is and where it’s coming from. In a dungeon or inn, it could be coming from a torch, fireplace, or window. It could be coming from several places but to keep things simple we’ll just use a basic light source from the upper left. Then you can paint in some broad shadows on the opposite side of the bag, and where the lip of the sack would cast shadows across the apples.
Try to imagine it as a three-dimensional shape, and where light would hit it. We’ll go back through in the next step and deepen the shadows in some areas so right now just focus on the main ones.
You can get the shading brush I’m using for Free HERE in the Apprentice Brush Pack.
Deepen Shadows for Detail
With your base shadows in place, go back through and really ask yourself…”where would the light be most obscured?” Look for areas opposite to the light source of course, but also where there are folds and overlap. Even individual apples in this case can get a bit of shadow on the right side, and especially darken apples that are deeper within the sack.
Paint Highlights for Finishing Touch
Create another layer below your line art and set the blend mode to “Screen” or “Add”. Again, just try both and don’t be afraid to play with the opacity slider on the layer to hone it in where you like it. With the same brush, switch to either a light gray or a pale yellow to reflect more of a firelight look, and paint in some highlights on the bag that would be receiving light. Don’t forget to add some sharper highlights to the apples as well since they will appear more reflective than the burlap of the sack.
You’re done! I hope you found this helpful so you can add a little more interest to your next interior map. Make things interesting, and have fun drawing objects for players to explore or that just add flavor to a room.
Happy Mapping!
Josh


