
How to Draw a Snowy River

How do you draw something like snow on your fantasy map? Fortunately, it is pretty simple if you know how to draw your line art and build your color palette. In this tutorial, you'll learn some simple steps to transform a typical river into a winter setting for your next story. This is a great way to level up your maps whether it's for an rpg like Pathfinder or your next novel. So let’s start mapping!
All of the brushes I will be using for this tutorial are available in The Cartographer’s Liner Brush Field Kit for Procreate & Photoshop

Sketch a River Shape
Begin by roughing in a simple river in pencil or a sketching brush if you’re working digitally. It’s important at this point to STAY LOOSE. When I’m sketching I purposely keep things pretty rough, because it prevents me from becoming too rigid and precious with my design.
If you’re too afraid to “mess up” your concept sketch, you’re working too rigidly. Get sloppy, scribble all over your page first if you need to! If you can loosen up you’ll probably find a lot of “happy little accidents” occurring.

Sketch in Ice Sheets
With your river in place, you can now imagine the shallow edges of the river being covered in a sheet of ice which opens up in the middle. Add a few ice flows that have broken away from the edges and draw a couple of simple tree shapes for interest.

Ink the Main Shapes
It’s now time to bust out your inking pen and do some simple line art. If you’re working digitally, just create a new layer above your sketch and use a darker blue for the ice and a dark pine green for the trees.
You’ll want to use pretty fine line art for the ice and snow, particularly for the ice flows. If you’re drawing a snowy scene it’s best to not make your line art too bold and bulky. Don’t worry, we’ll make this pop more later with color and shading.
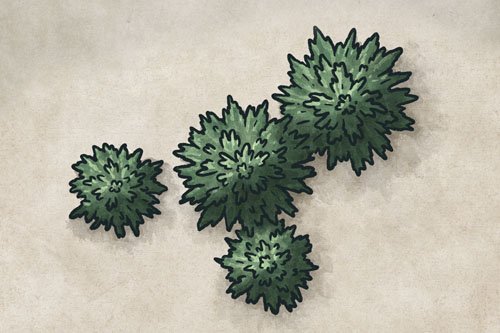
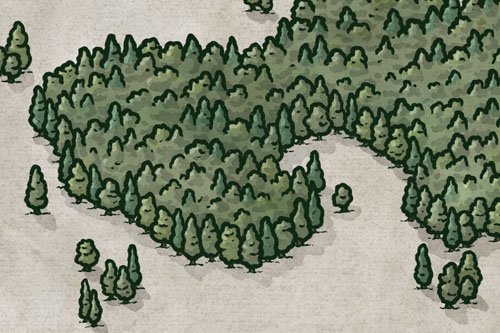
Drawing the Trees
To draw the conifers you want to use a bit of a downward sweeping motion that gradually gets wider the further you go down the tree. Trees have a much wider diversity in shape than we think, so try not to make them too perfect.

Add a Little Detail
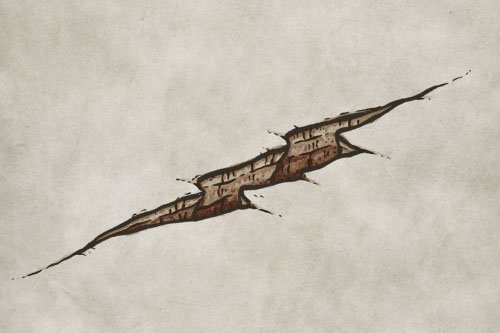
Go back through and start adding some subtle details to the land to give depth to the terrain. Along the edges you want a bit of a pillow effect as if everything was draped in a massive white blanket. This tends to smoother the overall look of the terrain. You can also add some subtle cracks in the ice that gradually fade out the closer they come to the shore.
Add a few branches to the trees, with them downward pointing in the center and more angled to the left or right depending on the side of the tree they’re on. The trick is to imagine the basic shape of the tree as a cone, and that you’re drawing branches to follow that shape.
More Mapping Tutorials


Block in Colors
Create a new layer below your line art and block in your base colors. You may notice that all of the colors are a bit dull and gray. I like to do this because when it comes to adding shadows and highlights, you have plenty of room in the values to add contrast later.
All of the colors have a bit of a blue/gray hue to reflect the ambient light coming from the sky. It also gives it a cooler feel, which is what we want for a winter setting on our map.
Here are the Color Hex Codes if you want to know the exact colors I’m using.
Snow: #D5DEE4
Trees: #549379
Water: #8792A0

Paint Basic Shadows
If you’re working digitally, create a new layer above your colors and below your line art. Then set the blend mode to “Multiply” and switch to a semi-transparent brush so you can gradually build up the shadows.
Now decide where your light source is so you can begin painting in some darker blues along the shoreline. Remember, the terrain is not perfectly flat, so some scattered darker areas will help convey subtle rises and falls in the landscape.
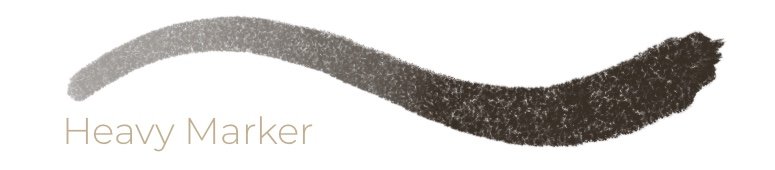
Here is a sample of the brush I am using for all the shading in this tutorial. You can get this brush and more in The Cartographer’s Liner Brush Field Kit
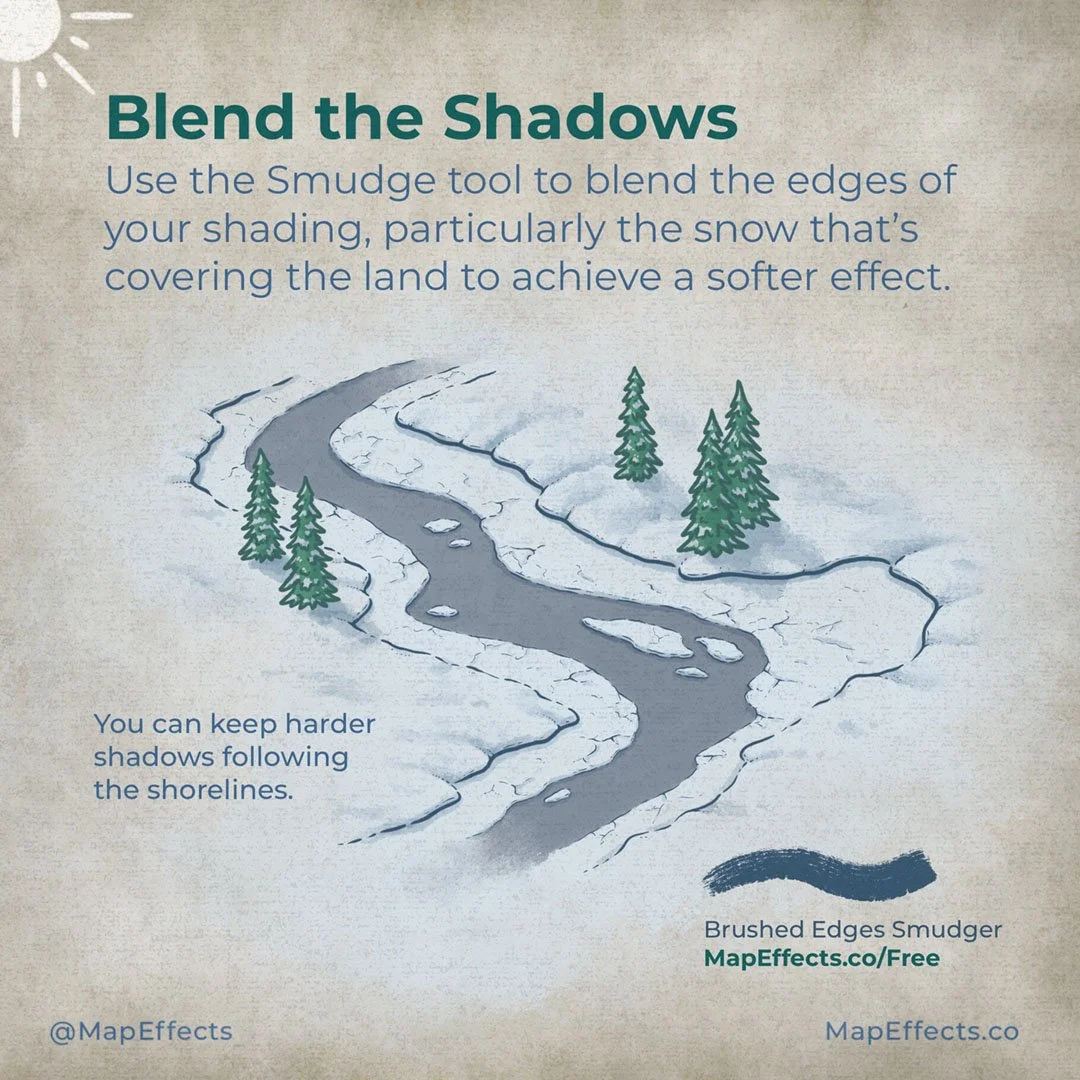
Blend the Shadows
With your main shadows in place, you can now switch to the Smudge tool to blend the edges a bit. You particularly want to focus on the snow that’s covering the land to achieve a softer look. But, you can keep some sharper edges on the shadows along the shoreline and the cracks in the ice.
Want a Free Smudge Brush?
CLICK HERE to get your free brush included in the Apprentice Brush pack
For Procreate, Photoshop, Clip Studio Paint, & Infinite Painter

Deepen the Shadows
I find it’s best to do your shading in multiple stages. Beginning with a larger brush with a low opacity, and gradually building up the shadows and darkening the areas most in shadow. In this case I kept it pretty simple as I still want everything to be generally bright because of the snow.
The one thing I did darken quite a bit was the water itself. Particularly in the middle where the water would be deeper. Just block in some color and use the smudge tool to blend it out a bit, just like you did in the previous step.

Cartographer’s Liner Brush Field Kit
$29 | For Procreate, Photoshop
The Cartographer’s Liner Brush Field Kit contains all the liner brushes you need to draw your own fantasy maps and bring a traditional, hand-made quality to your digital work!

Add the Magic
You may have realized that everything still looks a bit dull. The highlight is often where the magic happens, and it’s particularly true in a snowy scene.
Create a new layer above your colors and shadows, and set the blend mode to “Screen”. You can then use the eyedropper tool to grab the snow color, and this can be what you use to paint in your highlights wherever the light source would illuminate.
Remember, snow is highly reflective so you want to build up those highlights along the edges of the ice, and the snow drifts.
Lastly you can draw some subtle flowing lines in the water to convey some movement in the river.
You’re all done! I hope you found this tutorial helpful for creating a winter setting for your next rpg campaign or the story you’re writing. You honestly don’t see enough winter-themed maps, so whenever you do it really helps it to stand out as something unique.
Be sure to check out the Learning Section for More Cartography Tutorials and Tips!
Happy Mapping!
Josh
