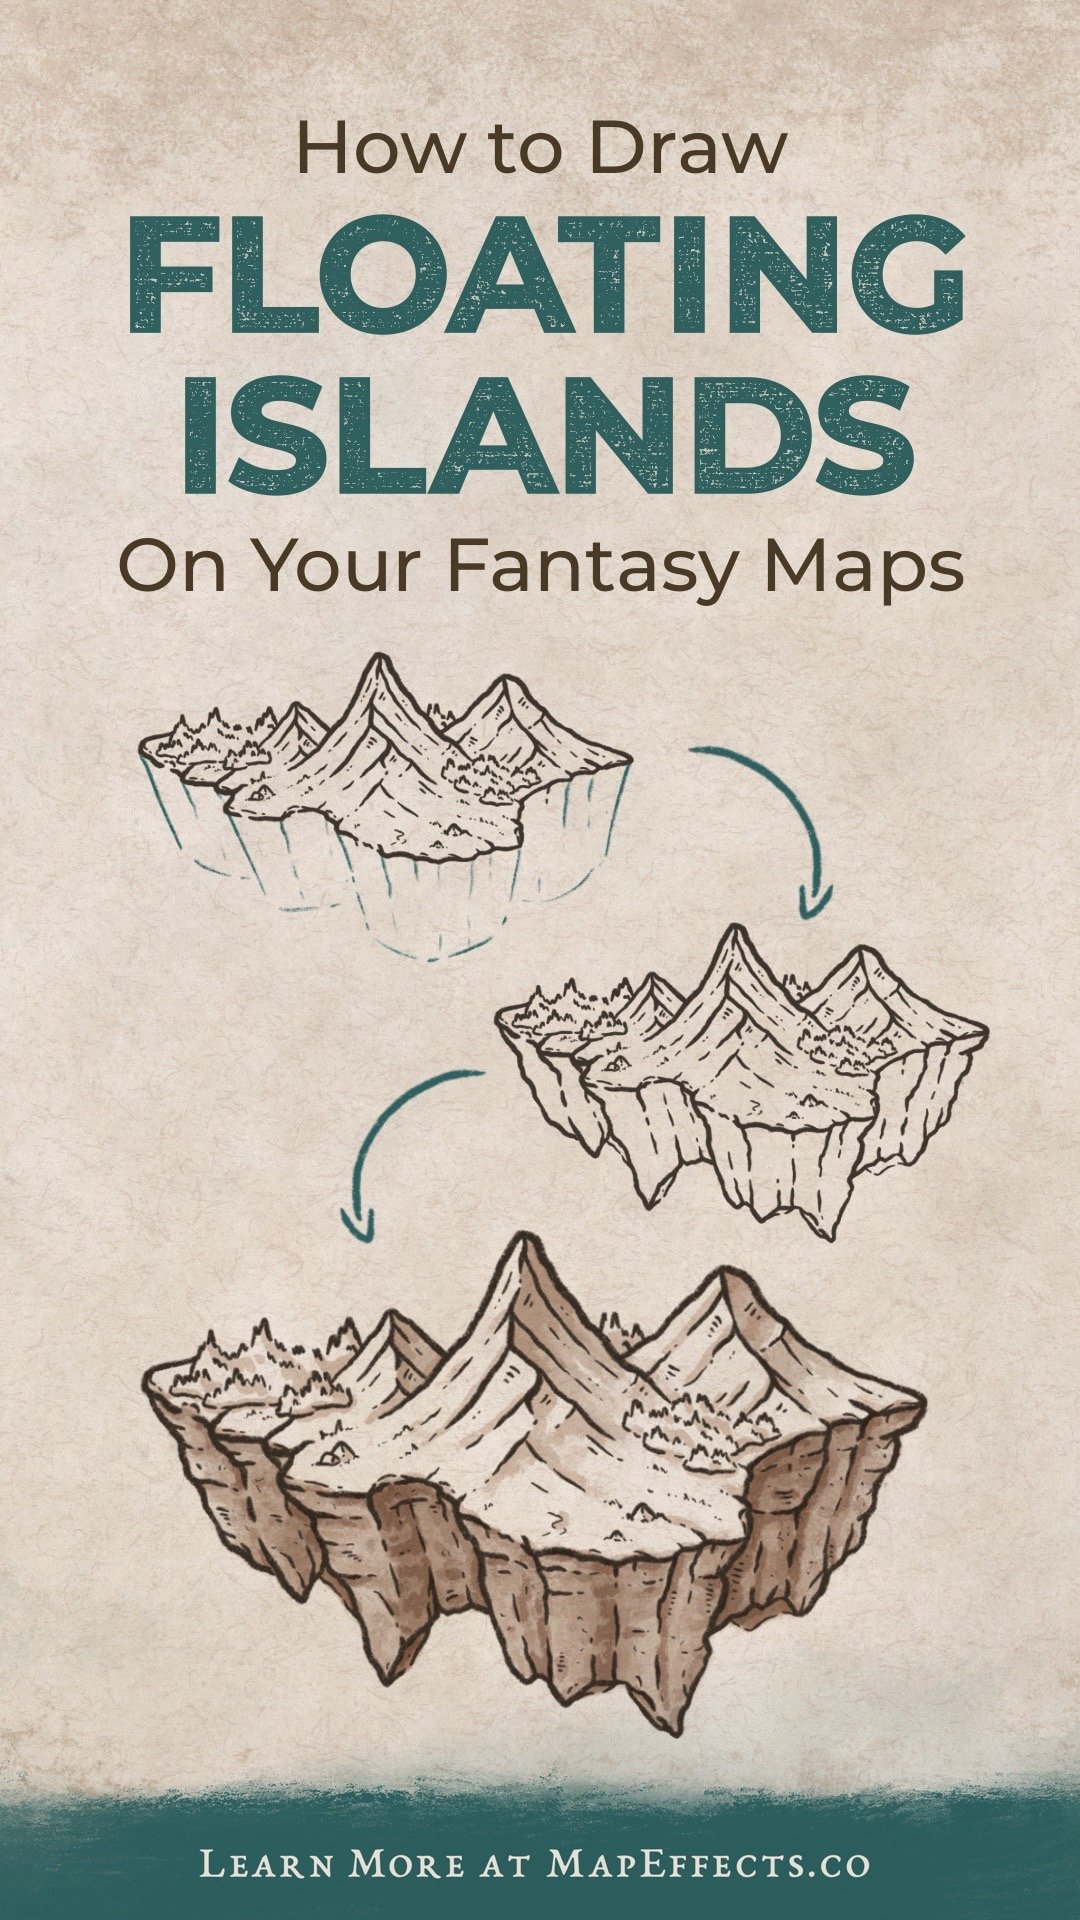
How to Draw a Floating Island

The idea of having a floating island that is mysteriously positioned in mid-air is something that has become increasingly popular in the fantasy genre. From movies like Avatar to books like Shadow of the Conqueror by Shad Brooks, there is something really compelling about the idea of a massive floating island of stone suspended above you.
But, how do you draw one on your map? It’s one thing to draw the top, which frankly looks just like a normal island. It’s another to draw the underside in a way that will look good. In this Map Tip I will break down for you my method for drawing the underside of a floating island for your fantasy worlds!

Should You Draw an Inverted Mountain?
Most floating islands you see on fantasy maps have a pointed shape as the underside, which causes you to logically conclude you should just draw an upside down mountain shape for the base.
While this is definitely a solution…is it the best option?

Does it Work?
While this method may work for some people. I don’t find this technique to be the best way to look at it. You tend to either end up with something like looks like a badly done mirror image effect like in my example here. Or it just doesn’t look like the rock is one cohesive piece.
So, lets look at how I prefer to go about this.

Cartographer’s Liner Brush Field Kit
$29 | For Procreate, Photoshop, & Clip Studio Paint
Want the brushes I am using for this Map Tip? The Cartographer’s Liner Brush Field Kit contains 21x unique liner brushes designed to give an analog quality to your digital work.

Imagine Cliffs Instead
Rather than trying to invert a mountain, just begin by drawing some sketch lines just like you would if you were drawing a cliff face. It may sound weird to say, but this encourages you to keep drawing something familiar, right side up, rather than making your brain and canvas do flips.
You want to sketch the base to roughly follow the shape of the cliff edge above. You might also notice that all the lines are tapering in, as if they would eventually come to a point. Except, I am cutting it off in order to get what I believe is a more appealing look.

Sketch in the Base
With the overall shape done, you can now add some points to the bottoms of the cliff to tie them all together. This is where the idea of using an inverted mountain as the base for this comes from, since you do want them to come to some points. In my opinion, though, you end up with a very different look if you use the method I am describing for you. Never lose sight of the fact that art is often a matter of personal preference and what works for you.
Now let’s move on to inking the line art!
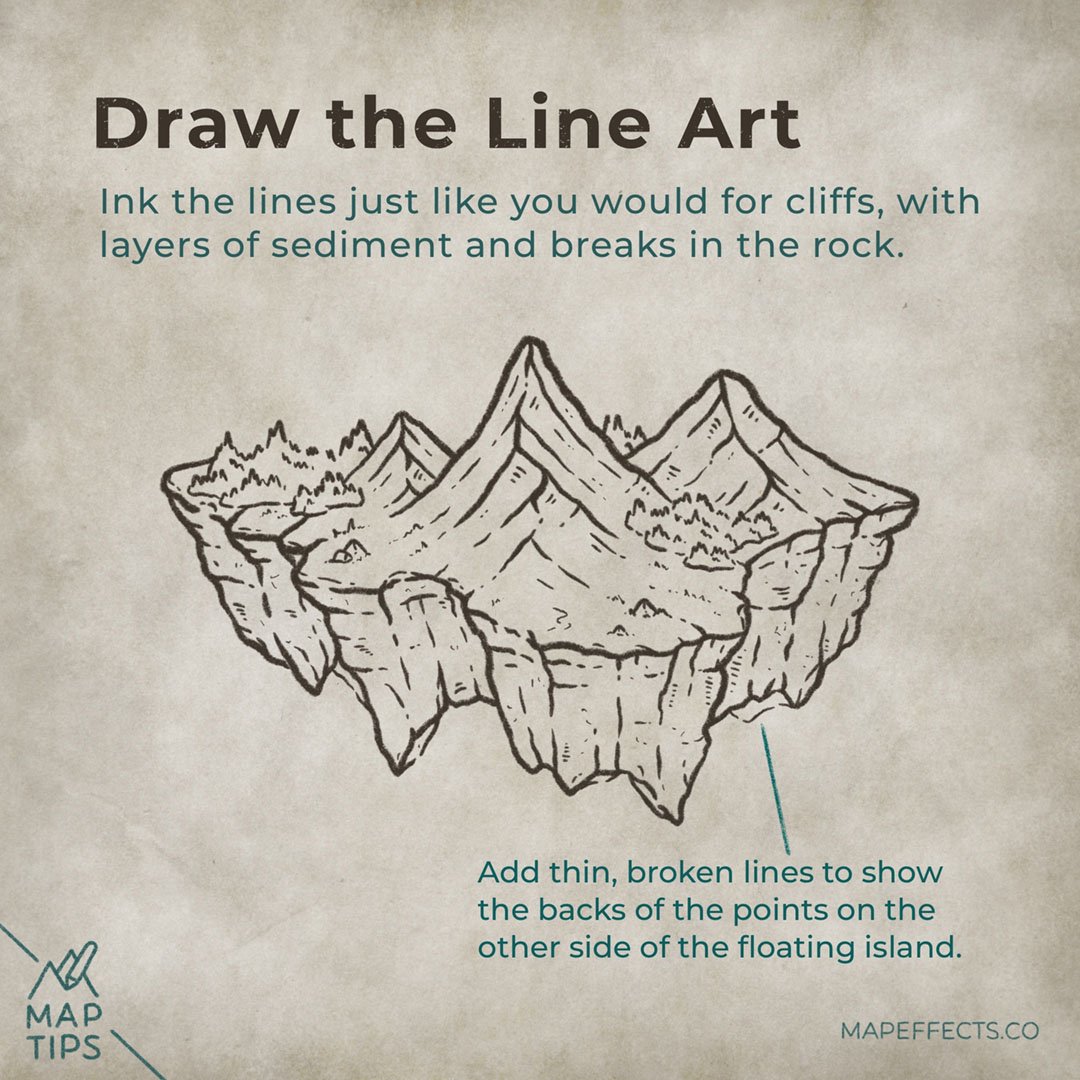
Draw the Line Art
Ink the lines on a new layer just like you would if you were drawing cliffs in the How to Draw Canyons Tutorial. Use layers of sediment and breaks in the rock to give it a lot of personality and texture.
You can also add some thin, broken lines to areas to show the backside of the points on the other side of the floating island. This is a nice subtle way to add some more depth.
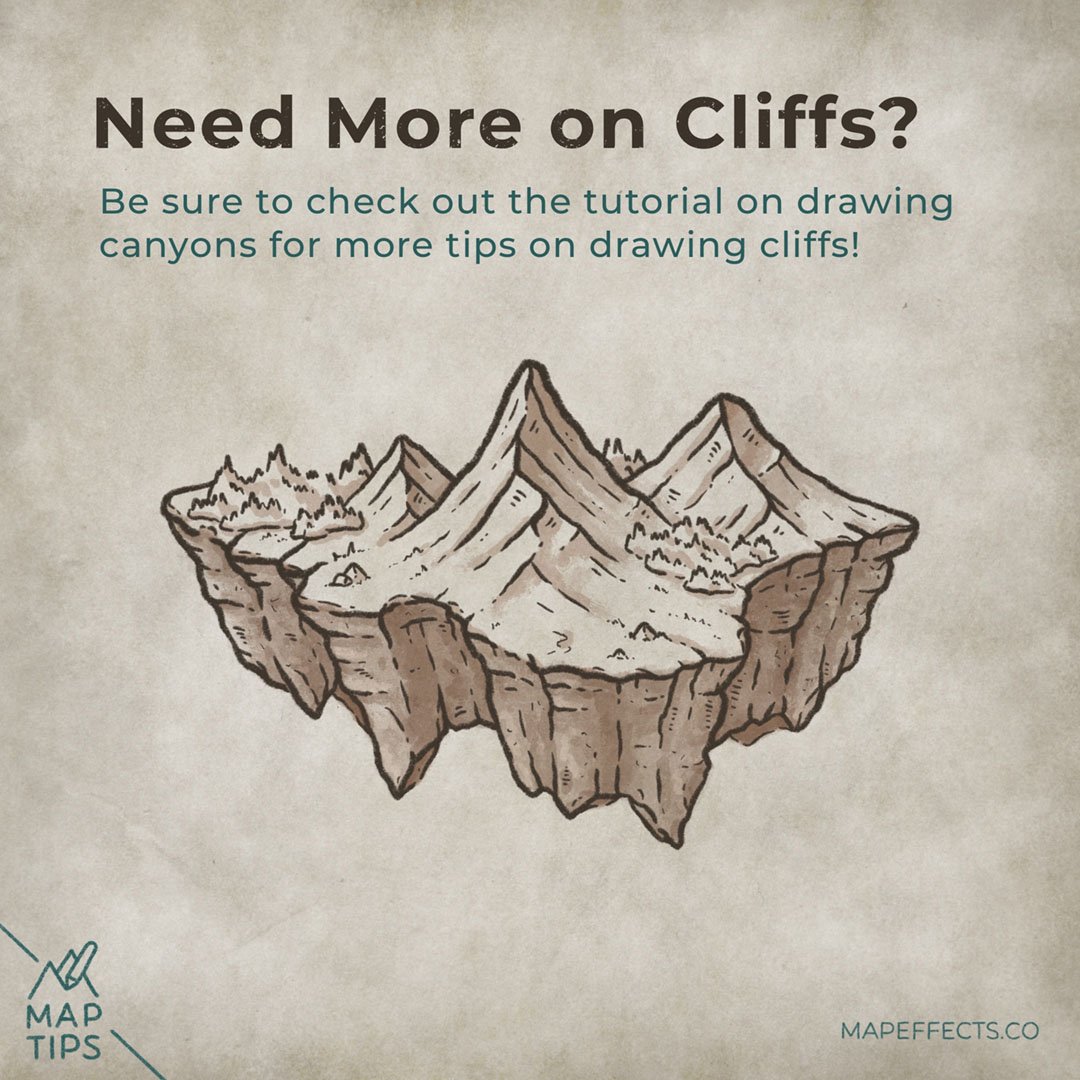
Need More on Cliffs?
Be sure to check out the tutorial on drawing canyons if you want a more in depth break down of how to draw the layers, and paint in the shading. Click the button below to check it out!
I hope you found this little Map Tip helpful in your journey to map your story. If you want to support Map Effects and help other map makers, be sure to share this with someone who will find it helpful and pin it to save for later!
Happy Mapping!
- Josh