How to Draw Canyons
Drawing canyons on your maps is a great way to make the terrain a little more interesting and add depth to the landscape. At first glance, you might think they are difficult to draw, but with a few simple principles, you can start adding canyons to your own fantasy maps.
Draw the River
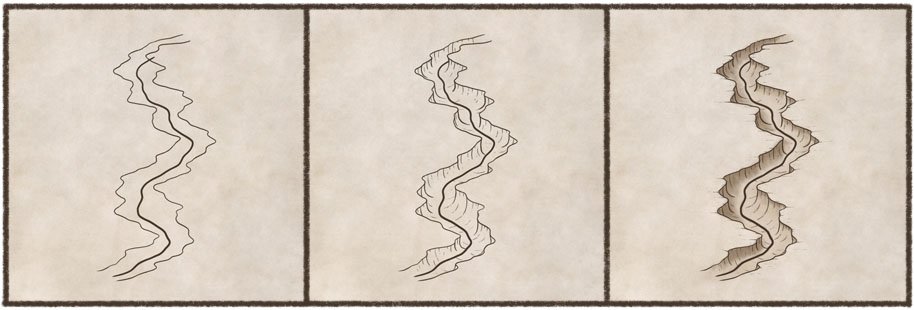
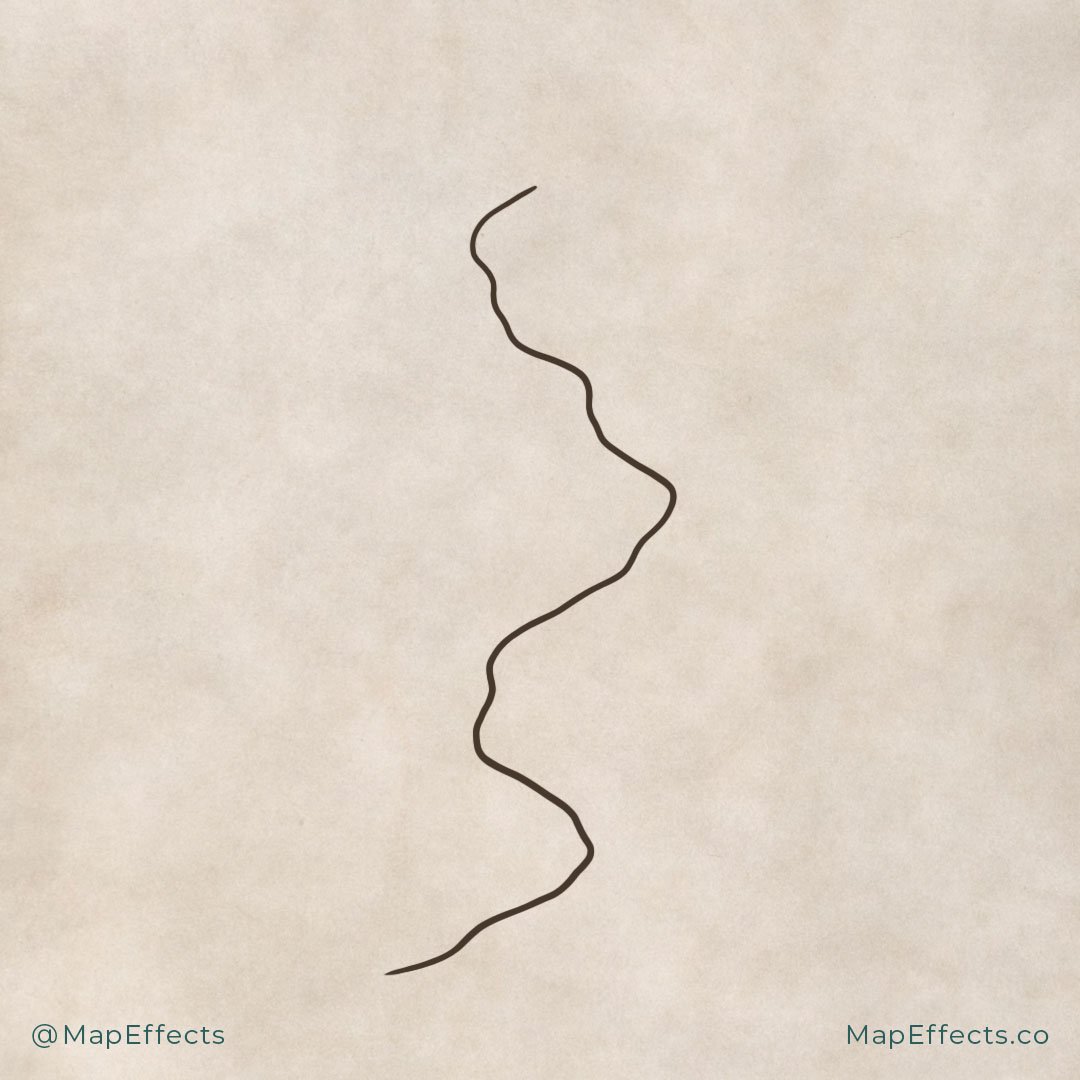
The first thing you want to do is to draw a river, which will determine where you place the canyon. Since this canyon will be in an isometric perspective rather than overhead, try to use more horizontal movements back and forth to draw your river.
Once you get more comfortable with the process you can also start with the canyon first and then add the river. But I tend to prefer starting with the river because it feels a little easier to build from rather than something added later.
Add the Cliff Edge
You can now begin drawing the top edge of the cliff along the river. They do not have to follow the river exactly but can be a little more jagged. Again, you want to be sure you are using a lot of left-to-right movements with your pen to make it appear that it is in the right perspective.
You can also have the canyon ridge cross over the river itself as I did at the very top. In the next step, you will see that doing this and obscuring part of the river is a great way to add depth and make it more realistic.
Draw the Cliff Faces
Begin adding some vertical strokes at each of the points along the ridge, and have them slope down to the river. Now it is really starting to look more like a canyon carved into the landscape.
You can see that at the top the edge of the cliff now obscures part of the river so it looks like it going behind it. Experiment with this as it really gives a pretty interesting effect.
Draw in the Details
Now that you know where your main cliffs are, you can go back with a smaller brush and start adding in some more detail. Begin at the top of the cliff and draw some finer strokes that slope down to the river. Try to make these ones a little more subtle and broken-looking than the ones you drew in the previous step. You will also want to add more strokes near the tops of the cliff as that is where the deepest shadows are being cast. This way you are actually doing a bit of shading just with your line work so that the canyon really could stand on its own without any other color or shading added later.
Then, you can add some detailing to the landscape above the cliffs. Doing this will really go a long way to blending your canyon into the rest of the landscape so that it feels like it’s a part of it and not something that is just drawn on top.
At each of the inside corners along the cliff, draw light horizontal strokes that blend into the terrain. The effect is subtle but it really adds a nice realistic texture.
More Tutorials You May Enjoy
Add a First Pass of Shadows
If you are working digitally, use the eye dropper tool and select the paper texture in the background. Darken the color slightly and begin filling in the canyon with the darker color. You can also do this on a new layer with the blend mode set to “Multiply.”
At this point you will want to determine which direction the light is coming from. In this case the light will be coming from the upper left. So now after filling the entire canyon with the darker color, you can go back through with your eraser tool and lightly remove some of the color around the river itself, and some near the base of the cliff on the right. This will give the impression that the light is hitting this area more directly.
Deepen the Shadows
I find it is best to add the shading in stages in order to keep a more consistent look across the piece. So now that you’ve added your basic shadows, you can now go back and begin deepening them in areas that would be more obscured from the light.
Create another layer with the blend mode set to “Multiply”, and paint in shadows, particularly along the cliff edge and where elements overlap.
Want to Take it Up a Notch?
Check Out the Fully Updated Tutorial on How to Draw a Canyon on Your Fantasy Maps Here


