How to Draw a Sailboat - Top Down Perspective
Drawing a ship sailing the seas of your fantasy maps is a great way to convey a bit of the culture of your setting. You can also use them to indicate trade routes, and if the city is a major port in the region. In this tutorial, I will walk you through how to draw a simple wooden sailboat you can use on your fantasy city maps.
All of the brushes I will be using for this tutorial are available in the Map Maker Essential Brushes pack for Procreate & Photoshop.
Sketch a Rectangle for Size
Sketch a simple rectangle on your map where you want the sailboat to appear. Don't miss this so you can ensure the scale is right from the beginning.
Draw the Shape of the Boat
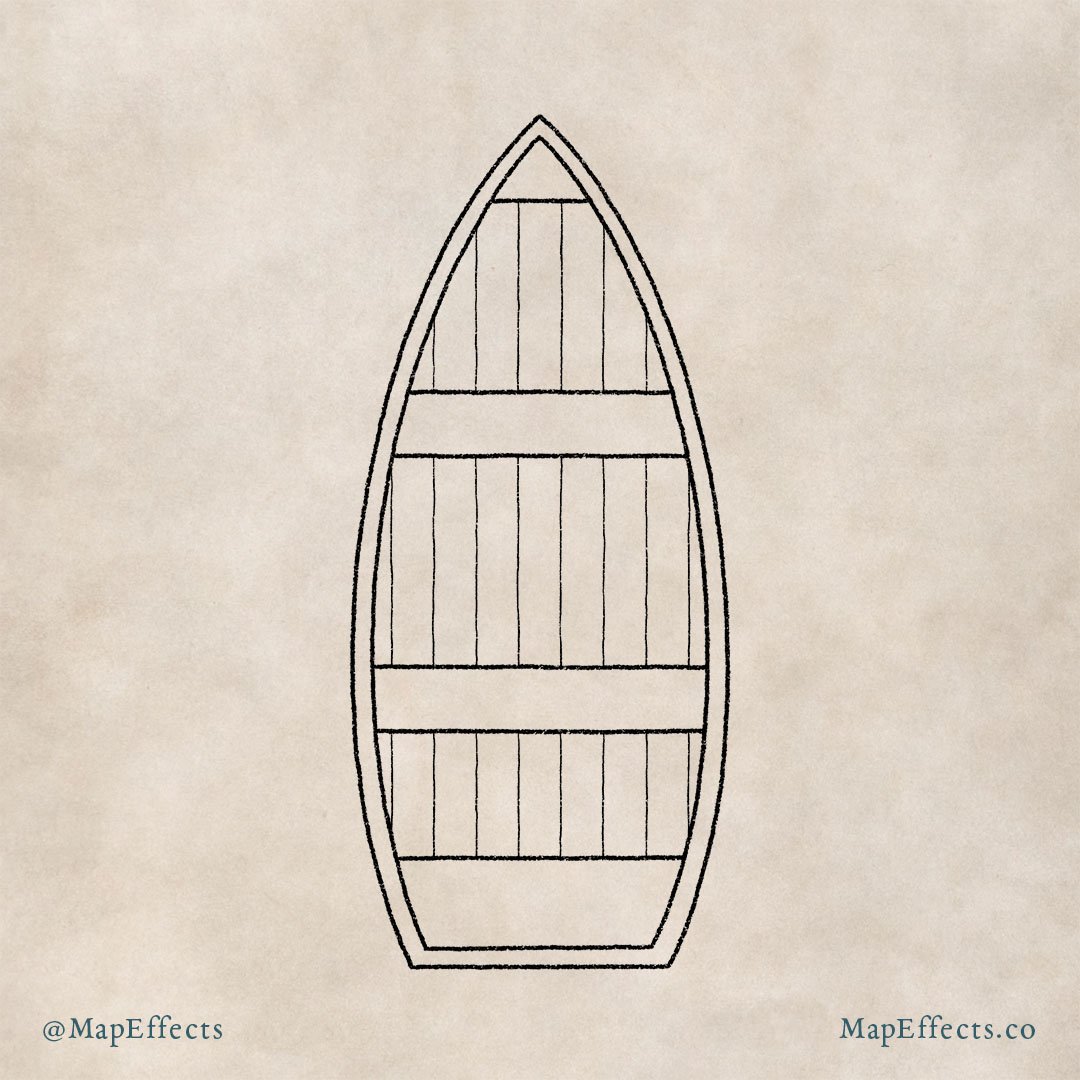
Now that you know how large your boat will be, you can use the rectangle as a guide. Create a new layer for you to draw your boat, and lower the opacity of the rectangle. You can then draw two arcs and connect them at the back.
Struggling to Keep the Sides Even?
If you are working digitally, you can simply draw one side of the boat, duplicate the layer, and flip it. You can then just move it into place on the opposite side.
Draw the Interior Benches and Floor
Add a couple of benches in the middle of the boat and perhaps one in the back. Now you can draw some vertical lines down the length of the boat to indicate the wood floor.
Curved or Straight Lines?
But, shouldn’t the lines curve with the contour of the boat? It depends on what kind of boat you want to draw. For this boat, we will imagine that floors have been installed to give a flat surface to walk upon. But, a canoe is a good example of a boat that doesn’t normally have a deck installed in it and the boards would have more curves along the edges.
More Tutorials You May Enjoy
Draw in the Mast
Create a new layer and draw two circles near the middle of your boat to form the spar or vertical post that supports the mast. Then draw a rectangle in front of it where the mast will be. It's nice to put it at a bit of an angle to give some visual interest and asymmetry.
Add the Sail of the Boat
Now you can draw an arc in front of the rectangle you just drew to form the sail. You could call it good with just that, but for this example, I decided to add a section curving below to give greater depth to the sail.
Then you can add some lines that would run down the sail to give it some more interest. The trick is to imagine the sail as one piece of cloth with lines running down it vertically, then picture how the wind would bend and curve the shapes.
Finish the Details for the Sail and Wood
Draw some ropes along the horizontal beam of the mast to show where the sail would be tied. You can also add some small arcs on the sail between each of these to show the cloth is being blown and pushed out from the mast. Finally, you can draw simple hatch marks to give a little more character and detail. I opted to omit all the rigging as this boat will appear fairly small in scale on something like a city map. It just appears much larger here for the tutorial.
Sketch in the grain of the wood and use some light, broken lines to add some texture. In general, the lines will follow the grain of the board, but don't be afraid to add some curves or knots in the wood.
Block in the Base Colors
Create a new layer below your line work and block in some basic colors for each section of the boat. You might want to keep each color on its own layer as well because it will make shading easier in the next steps.
Use Alpha Lock to Color the Line Art
The other important thing to note here is to recolor the line art itself to get a more polished and professional look. In most digital drawing apps like Procreate or Photoshop, you can use a tool called "Alpha Lock". This allows you to only color on your line art with the simple swipe of a large brush.
The City Map Builder
$34 | For Procreate, Photoshop, Clip Studio Paint, & Affinity
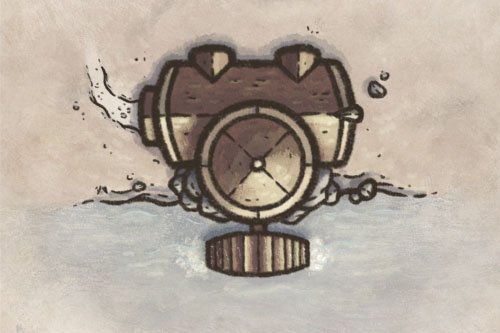
Want to create your own hand-drawn city map with a few clicks and a little imagination? With the City Map Builder, you will get over 300 features, including the Water Wheel in this tutorial, as well as the brushes I have throughout. Click the button below to check it out!
Paint in the Shadows
Create a new layer above one of the colored layers you created in the previous step. Then select “Clipping Mask” for that layer. You should see some type of arrow pointing downward appear on the layer. Now, you can only paint color on the shape that is below that layer.
Take your eyedropper tool and select the color you will use for your shading. Now set your clipping mask layer to blend mode "Multiply." You can then paint in some shadows below the benches, along the mast, and particularly on the left side of the inside of the boat where there would be a cast shadow.
What Brush am I Using?
I am using the Old Sponge Filler from The Modern Map Maker Essential Brush Pack to have some texture to the shading so it feels more natural.
CLICK HERE to learn more about my Modern Map Maker Essential Brushes for Procreate & Photoshop
Paint in the Highlights
With all the shadows in place, you can add a pop of highlights using the same method as the previous step. Create a new layer with the blend mode set to "Screen" above your shadow layer. You can then paint in some highlights anywhere your light source would be striking the boat.
Add Highlights to the Water
Last but not least you can add some simple highlights to the water so it has some movement and the sailboat feels part of the environment. On a new layer above your background but below your boat, select the color from the sail and set the layer blend mode to “screen”. Use a larger brush with low opacity to paint some jagged or scribbled strokes. Imagine small waves flowing out from the boat and trailing as it cuts through the water.
Go back now with a smaller brush and add some brighter highlights to the tops of the waves. This will help it to look more reflective as water naturally would be. Try to not get too detailed since it should just be a simple accent to the composition.
You're all done! Remember, the level of detail you use for your sailboat will depend on the scale it appears on your map. Most of the time, a ship would be no larger than a postage stamp, and too much detail can quickly appear messy. So just adapt the process for your needs and remember to simplify as the illustration gets smaller.
Be sure to check out the Learning Section for More Cartography Tutorials and Tips!
Happy Mapping!
- Josh


